Follow Me On Social Media!

Homemade Sandwich Bread: The Best Soft Loaf You’ll Love!
Introduction to Homemade Sandwich Bread
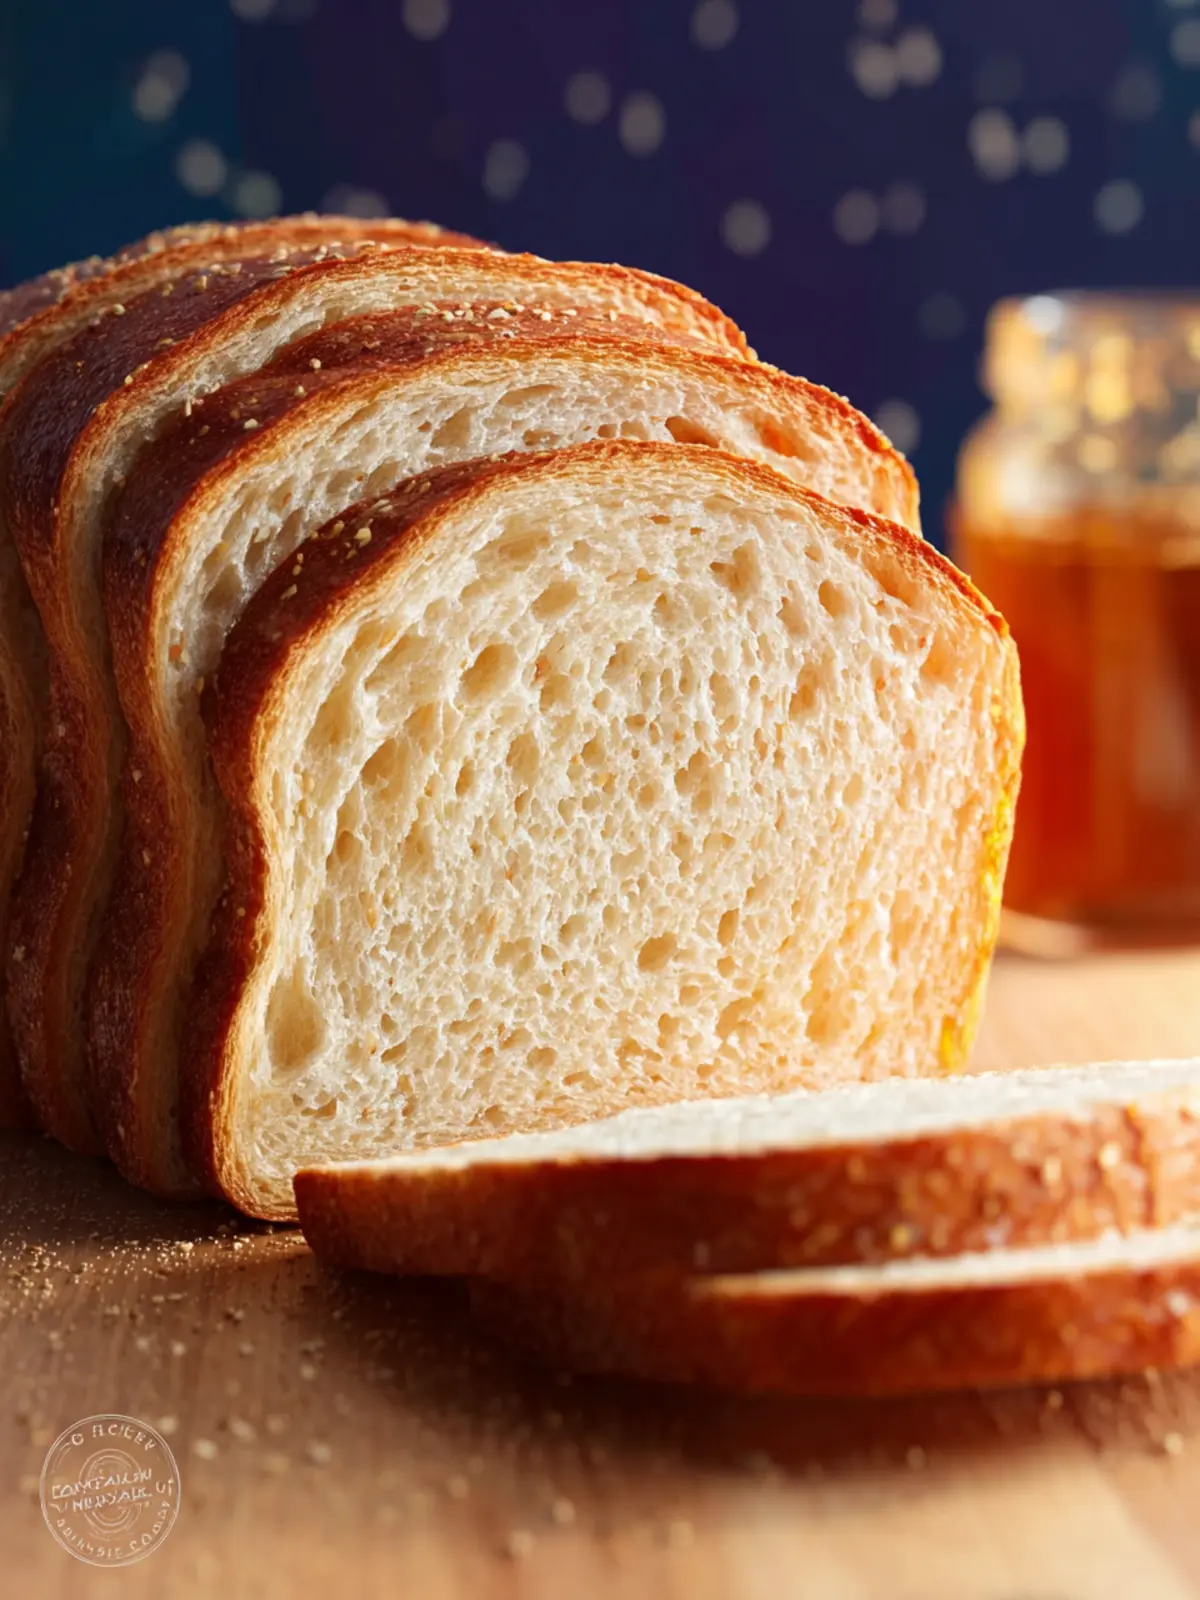
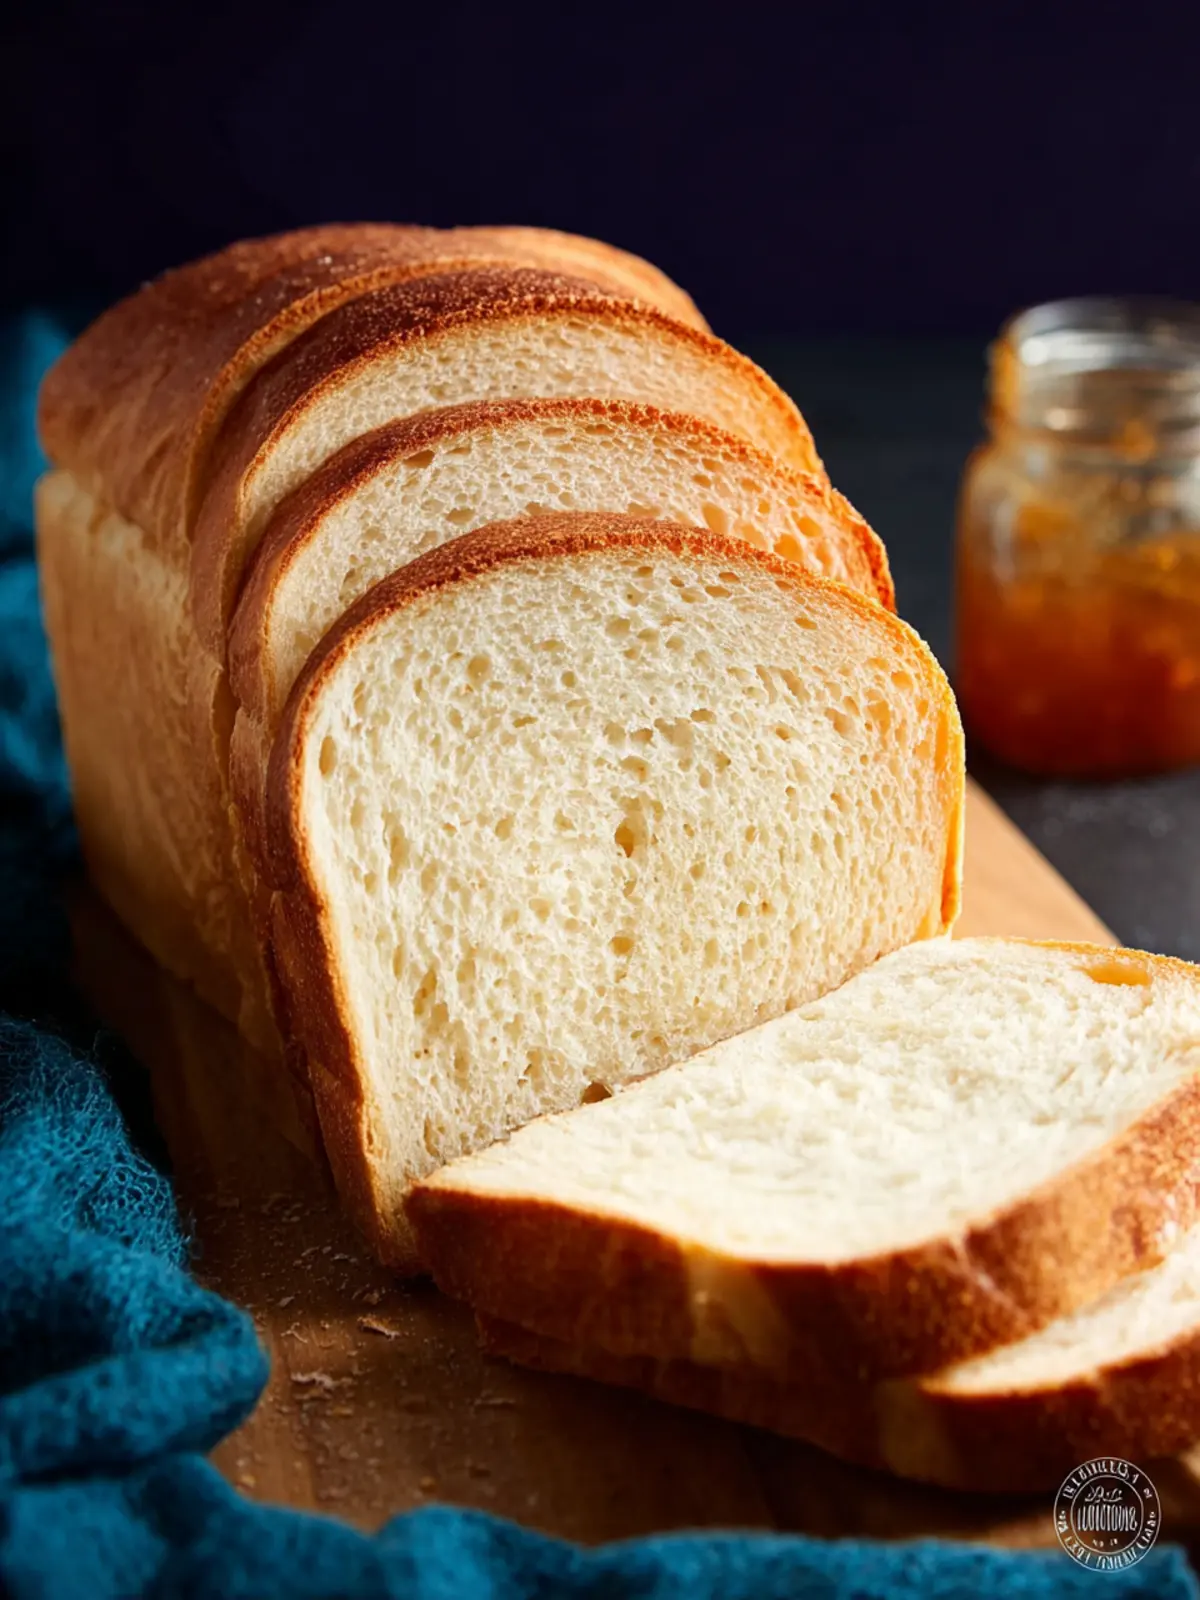
Imagine walking into your kitchen, the warm smell of homemade sandwich bread enveloping you like a comforting hug on a chilly morning. Freshly baked bread, with its golden crust and fluffy interior, brings a little magic to any meal, whether it’s a simple peanut butter and jelly or a hearty turkey club. This is the bread that not only fills your stomach but also nourishes the soul, making every sandwich a delightful experience.
What makes homemade sandwich bread so special? The answer lies in the ingredients and the love you put into the process. Unlike store-bought options that often use preservatives to extend shelf life, homemade bread allows for total ingredient control. You can experiment with whole grains, seeds, or even herbs to create a loaf that aligns perfectly with your taste preferences. Plus, the satisfaction of kneading dough and watching it rise is an experience that comes with a sense of accomplishment and joy.
Here are a few reasons why homemade sandwich bread elevates your culinary game:
-
Quality Ingredients: You choose exactly what goes into your bread. Opt for organic flour, fresh yeast, and wholesome additives to make a loaf that not only tastes better but is also healthier.
-
Customization: Want to add a touch of sweetness or a hint of spice? With homemade bread, you can easily adjust the recipe to suit your palate. Experiment with ingredients like honey, rosemary, or whole wheat flour to make your perfect loaf.
-
Texture and Flavor: Fresh bread has a texture that can’t be replicated by anything pre-packaged. The crust is oh-so-crunchy while the inside remains delightfully soft and airy, inviting an array of delicious fillings.
-
Nostalgia and Tradition: Making bread can be a fulfilling ritual that connects you with culinary traditions. Whether passed down from loved ones or discovered through your own trials, the act of making bread can evoke memories and create new ones.
In this recipe, you’ll learn how to embrace the joy and benefits of making your own homemade sandwich bread, creating loaves that reflect your style and nourishing those you share them with. So let’s roll up our sleeves and get baking!
Key Ingredients for Homemade Sandwich Bread
Creating the perfect homemade sandwich bread is all about using the right ingredients. Each plays a crucial role in achieving a delightful loaf that’s soft, flavorful, and perfect for your favorite fillings.
Whole Milk
For a rich flavor and tender crumb, I prefer using whole milk warmed to the perfect temperature. This ensures that the yeast activates properly, giving our bread that desirable softness.
Water
Similarly warmed, water is essential for getting the yeast going. By combining milk and water, we create a light, airy loaf that’s perfect for sandwiches.
Honey
I love using honey for a touch of natural sweetness. It not only enhances the bread’s flavor but also helps the yeast bloom effectively, leading to a beautifully risen loaf.
Unsalted Butter
Melted and cooled, unsalted butter adds richness and moisture, making the crust delectable and the interior soft—definitely an essential for any homemade sandwich bread.
White Flour
All-purpose or bread flour works well for structure and chewiness. I usually opt for all-purpose since it’s always on hand and delivers great results.
Sea Salt
A small amount of sea salt enhances the overall flavor without overpowering the sweetness of the bread, creating a balanced taste.
Instant Yeast
This is my go-to for ease and efficiency. Instant yeast rises quickly, making it ideal for busy schedules, so you won’t have to wait long before enjoying your fragrant, homemade bread.
Why You’ll Love This Recipe
When you think about homemade sandwich bread, envision the enticing aroma wafting through your kitchen as you create something truly special. Unlike store-bought options, this bread has a warmth and character that store shelves simply can’t replicate. It brings back memories of lazy Sunday mornings and family gatherings, where the simple joy of a freshly made sandwich elevates even the most ordinary meal.
One of the most appealing aspects of this recipe is its versatility. You can customize it to suit your tastes and dietary needs, whether by using whole wheat flour for a heartier slice or adding seeds for extra crunch. Additionally, making your own bread allows you to control the ingredients, ensuring there are no preservatives or additives—just pure, wholesome goodness.
Imagine the delight of slathering buttery spreads or fragrant jams on a slice of this freshly baked homemade sandwich bread. It’s perfect for everything from classic PB&J to gourmet grilled cheese delights. Plus, it stores beautifully, so you can savor those delectable sandwiches all week long. Every time you pull out a slice, it’s like reliving that first bite all over again—it’s comforting, satisfying, and utterly delicious.
This is not just bread; it’s a canvas for your culinary creativity, making every sandwich an adventure. Don’t miss out on the chance to fill your home with the irresistible scent of freshly baked bread!
Variations for Homemade Sandwich Bread
Exploring variations of homemade sandwich bread can truly elevate your lunchtime experience. Why settle for one flavor when you can create endless possibilities? Here are some delightful options to play with.
Whole Wheat Wonder
If you’re looking for added fiber and nutrients, consider swapping out half of the all-purpose flour for whole wheat flour. This not only enhances the texture of your bread but also gives it a nuttier flavor. You may need to adjust the water slightly, as whole wheat flour absorbs more moisture.
Seeded Sensation
Add a mix of seeds for added crunch and nutrition. Flaxseeds, chia seeds, or sunflower seeds make excellent choices. Aiming for about ¼ cup of seeds mixed into your dough not only boosts flavor but also gives your homemade sandwich bread a delightful texture.
Herb-Infused Loaf
Want to bring some freshness to your sandwiches? Incorporate dried herbs like rosemary, thyme, or basil into the dough. About 1-2 teaspoons should do the trick. You’ll find that these herbs supercharge the aroma and taste of your bread, making it a perfect base for gourmet sandwiches.
Sweet Twist
For those who love a hint of sweetness, think about adding honey, maple syrup, or a touch of cinnamon. Just a tablespoon mixed into your dough will create a subtly sweet flavor that pairs beautifully with jams or nut butters, elevating breakfast or snack time to new heights.
By embracing these variations, you can craft homemade sandwich bread that suits your mood and culinary cravings, making every meal a memorable one.
Cooking Tips and Notes for Homemade Sandwich Bread
Making homemade sandwich bread can transform your lunch routines into flavorful experiences. However, mastering this craft involves a few handy tips that can elevate your bread from standard to sensational!
Choose Quality Ingredients
- Flour: Always opt for high-quality all-purpose flour. If you want a heartier texture, you can mix in some whole wheat flour. Remember to adjust the liquid slightly since whole wheat flour absorbs more moisture.
- Yeast: Using active dry yeast is a great way to kickstart your bread. When proofing, ensure the water isn’t too hot—ideally between 100°F and 110°F. This helps the yeast thrive, resulting in a fluffier loaf.
Master Your Technique
- Kneading: Don’t rush through kneading. Aim for about 10 minutes to ensure gluten development, which gives your homemade sandwich bread its delightful texture. If you’re short on time, a stand mixer can do the job, but I often enjoy kneading by hand for that personal touch.
- First Rise: Let your dough rise in a warm environment. I usually find a cozy corner in my kitchen, covering the bowl with a damp cloth to retain moisture during this crucial step.
Baking Tips
- Preheat Your Oven: Always preheat your oven beforehand. A hot environment helps to create that delightful crust.
- Steam for Crust: For a crusty exterior, try adding a pan of water to the bottom of the oven during baking. This creates steam, giving you that artisanal bakery feel right at home.
Storage Advice
Allow your bread to cool completely before slicing. Once cooled, store it in a breathable bag to keep it fresh and avoid sogginess—after all, no one likes a sad sandwich! Enjoy the process, and you might find that baking your own homemade sandwich bread becomes a beloved routine.
Serving Suggestions for Homemade Sandwich Bread
When you invest your time in creating homemade sandwich bread, you want to ensure every slice shines with flavor and purpose. This delightful bread is not just a backdrop for fillings; it’s an integral component of a memorable meal. Here are some serving suggestions to elevate your sandwich bread experience.
Classic Sandwich Pairings
-
Turkey and Swiss: Layer sliced turkey, Swiss cheese, lettuce, and a smear of mustard for a classic that is always a crowd-pleaser. The nutty flavor of Swiss beautifully complements the homemade bread.
-
Caprese Twist: Fresh mozzarella, ripe tomatoes, basil leaves, and a drizzle of balsamic glaze create a refreshing sandwich. Use the homemade bread to soak up those vibrant flavors.
Toasted Delights
-
Grilled Cheese: For a cozy comfort meal, make a grilled cheese sandwich using your homemade bread. Add sharp cheddar and a sprinkle of garlic powder for an irresistible crunch when toasted.
-
Avocado Toast: Smash ripe avocado on a thick slice of your homemade bread, topped with salt, pepper, and a sprinkle of red pepper flakes. It’s a simple yet satisfying meal any time of day.
Bread’s Sidekick Role
Your homemade sandwich bread doesn’t have to steal the spotlight; it can shine as a sidekick too. Create delightful croutons by cubing leftover bread and tossing them with olive oil, garlic, and herbs. Toast them until golden for a crunchy addition to salads or soups.
By exploring these serving suggestions, you’ll discover just how versatile your homemade sandwich bread can be, making every meal a little more special.
Time Breakdown for Homemade Sandwich Bread
When you’re diving into the world of homemade sandwich bread, it’s easy to get lost in the excitement of kneading and rising. Understanding the timing can help you navigate your baking adventure more smoothly.
Preparation Time
Start by dedicating about 15 to 20 minutes for the preparation. This involves gathering your ingredients, measuring out flour and yeast, and mixing everything together to form a dough. Don’t rush—this step is vital for ensuring your bread turns out just right.
Rising Time
Once your dough is mixed, it’ll need about 1 to 1.5 hours to rise. During this time, it will double in size and develop those lovely flavors. Find something to do to make use of this wait, perhaps prepping your favorite sandwich fillings!
Baking Time
When it’s time to bake, set aside 30 to 35 minutes. As the bread bakes, you’ll be rewarded with the irresistible aroma that fills your kitchen.
Total Time
All in all, you’ll need approximately 2 to 2.5 hours for the entire process, from preparation through baking. The effort is well worth the wait when you slice into that warm, freshly baked homemade sandwich bread. Enjoy every bite!
Nutritional Facts for Homemade Sandwich Bread
Creating your own homemade sandwich bread brings not just the warmth of fresh baking into your kitchen but also allows you to take control of what goes into your loved ones’ meals. Let’s discuss the essential nutritional aspects of this delightful loaf:
Calories
A typical slice of homemade sandwich bread contains about 100-120 calories. This number can vary based on the ingredients you choose, so be mindful if you’re watching your calorie intake.
Protein
You’ll find around 4 grams of protein per slice of homemade sandwich bread. This protein contributes to your daily intake, especially if you’re pairing it with protein-rich fillings.
Carbohydrates
Each slice has approximately 20-25 grams of carbohydrates, giving you that necessary energy boost to power through your day. These carbs come primarily from the flour, providing a great source of fuel.
Fats
Homemade sandwich bread generally contains about 1-2 grams of fat per slice, primarily from the oils or butter you might use. Keeping fats low is beneficial if you’re aiming for a light and healthy sandwich.
Understanding these nutritional facts can inspire you to enjoy your homemade sandwich bread guilt-free!
FAQs about Homemade Sandwich Bread
Making homemade sandwich bread can be a delightful adventure, but it also comes with its fair share of questions. Let’s tackle some of the most common queries that budding bakers often have.
Can I use whole wheat flour instead of white flour?
Absolutely! If you want a heartier flavor and more nutrients, swapping in whole wheat flour is a great option. Keep in mind that whole wheat flour absorbs more liquid, so you may need to adjust your water or milk accordingly. A ratio of 50% whole wheat and 50% white flour is a good starting point if you want a balanced texture.
What if my dough is too sticky?
Dough can be temperamental, and if it’s sticky, don’t panic! Start by adding more flour gradually—just a tablespoon at a time. You want the dough to be tacky but not overly sticky. Remember, too much flour can create a dense loaf, so finding that sweet spot is key.
How can I ensure my bread rises properly?
Proper rising comes down to warmth and patience. Make sure your yeast is fresh and active—if it bubbles in warm water with a bit of sugar, you’re good to go! During the first rise, keep your dough in a warm environment, like an oven preheated to the lowest setting for a few minutes, then turned off.
How should I store leftover bread?
To keep your homemade sandwich bread fresh, store it in an airtight container at room temperature for up to three days. For longer freshness, slice and freeze it in a resealable bag. Just pop slices in the toaster straight from the freezer for quick enjoyment.
Can I make this bread without a stand mixer?
Certainly! While a stand mixer makes kneading easier, you can absolutely knead the dough by hand. It may take a bit longer, but the tactile experience can be very rewarding, allowing you to feel the dough change as you work it. Just knead for about 10–15 minutes until smooth and elastic.
Conclusion on Homemade Sandwich Bread
In exploring the joys of homemade sandwich bread, it’s clear that the aroma of fresh-baked bread can make your kitchen feel like a warm embrace. Whether you opt for a soft white loaf or a hearty whole grain, the beauty of making your own bread lies in the ability to customize and create something truly unique. With just a few simple ingredients like flour, yeast, and water, plus some patience and love, you can transform these basic elements into a comforting staple. So gather your ingredients and embark on this delicious journey; your sandwiches will never taste the same again!
Print
Homemade Bread
- Total Time: 1 hour 45 minutes
- Yield: 1 loaf 1x
- Diet: Vegetarian
Description
A delicious homemade bread recipe that results in a soft and fluffy loaf.
Ingredients
Scale
- ¾ cup whole milk (warm, 105 to 115°F (40 to 46°C))
- ½ cup water (warm, 105 to 115°F (40 to 46°C))
- 1 tablespoon honey (or granulated sugar)
- 2 tablespoons unsalted butter (melted and cooled slightly)
- 3 ½ cups white flour (all-purpose or bread flour)
- 1 ½ teaspoons fine sea salt
- 1 packet instant yeast (use just 1½ teaspoons (4 g) for bread machine version)
Instructions
- Whisk the flour, salt, and instant yeast in the bowl of a stand mixer fitted with a dough hook.
- Add the warm milk, warm water, honey, and melted butter.
- Beat on low speed until the dough comes together and no dry spots remain.
- Increase to medium speed and knead for 8 minutes, until the dough is smooth, elastic, and can stretch thin enough to see light through it (windowpane test).
- If the dough becomes too sticky during kneading, sprinkle 1 teaspoon flour at a time over the dough or into the bowl, just until you have a soft, slightly tacky dough. Do not add more flour than you need.
- Shape the dough into a ball and place it in a lightly greased bowl.
- Cover and let rise until doubled in size, 60 to 75 minutes.
- Lightly grease a 9 by 5 inch (23 by 13 cm) loaf pan.
- Turn the dough out and press it into an 8 by 12 inch (20 by 30 cm) rectangle.
- Roll up tightly from the short side, pinch the seam, and tuck the ends under.
- Place seam side down in the pan and cover with plastic wrap or a damp towel.
- When the dough reaches the rim of the pan, preheat the oven to 350°F (180°C).
- Continue proofing until the dome is about 1 inch (2 cm) above the rim and a gentle poke slowly springs back.
- Bake on the center rack for 15 minutes, then rotate the pan 180 degrees.
- Continue baking until deep golden and the center reads 200°F (93°C), about 15 to 20 minutes more.
- Cool in the pan for 10 minutes, then turn out onto a wire rack and cool completely. While the bread is still warm, rub butter over the top crust to keep it soft.
- Add ingredients to the pan in this order: milk, water, honey, melted butter, flour, salt, instant yeast. Use 1½ teaspoons (4 g) yeast.
- Insert the pan, close the lid, and select Basic or White, Medium or 1½-lb loaf, and your preferred crust color. Start the cycle.
- When the cycle ends, unplug the machine and remove the pan with oven mitts.
- Cool in the pan for 10 minutes, then shake the loaf out, remove the paddle if needed, and cool completely on a wire rack. Brush the top with butter while the bread is still warm, if desired.
Notes
- Use warm ingredients to ensure proper yeast activation.
- For best results, knead the dough until smooth and elastic.
- Brush the bread with butter while it’s warm to keep the crust soft.
- Prep Time: 15 minutes
- Cook Time: 30 minutes
- Category: Baked Goods
- Method: Baking
- Cuisine: American
Nutrition
- Serving Size: 1 slice
- Calories: 120
- Sugar: 1
- Sodium: 200
- Fat: 2.5
- Saturated Fat: 1.5
- Unsaturated Fat: 1
- Trans Fat: 0
- Carbohydrates: 22
- Fiber: 1
- Protein: 4
- Cholesterol: 5