Follow Me On Social Media!

Stained Glass Cookies: Easy and Irresistibly Colorful Treats
Introduction to Stained Glass Cookies
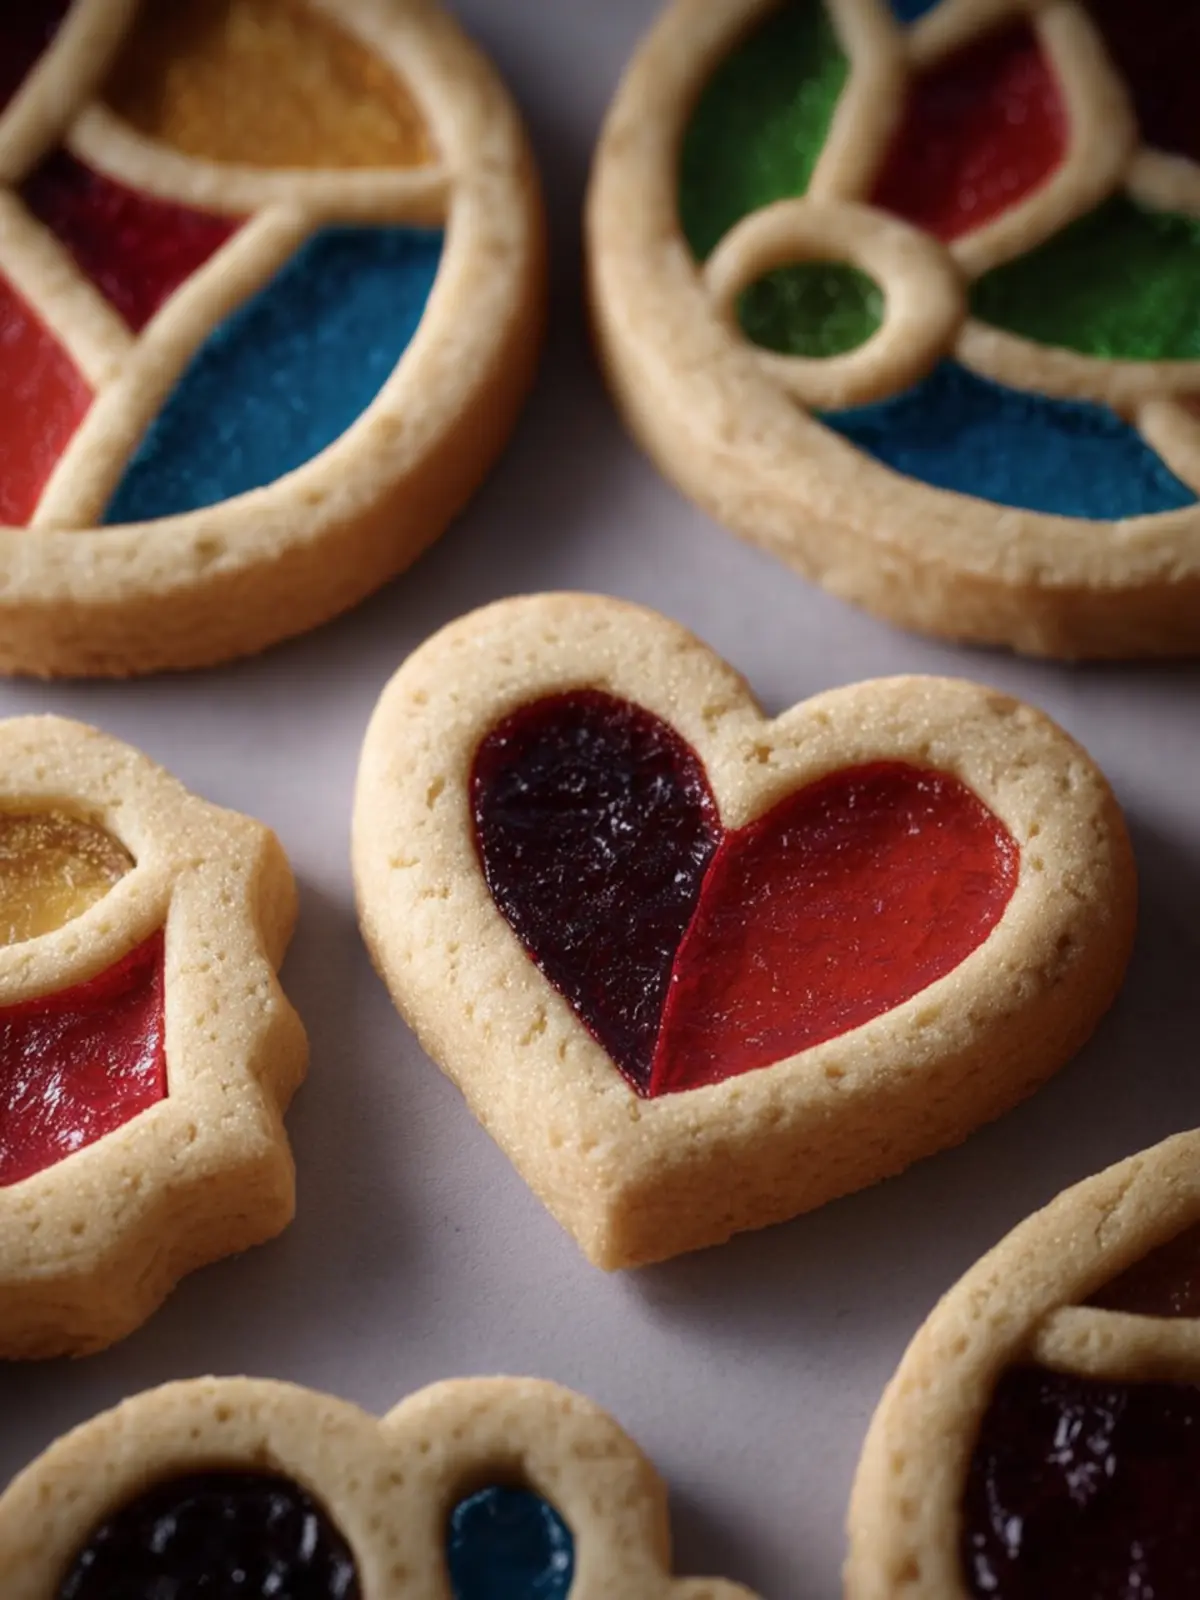
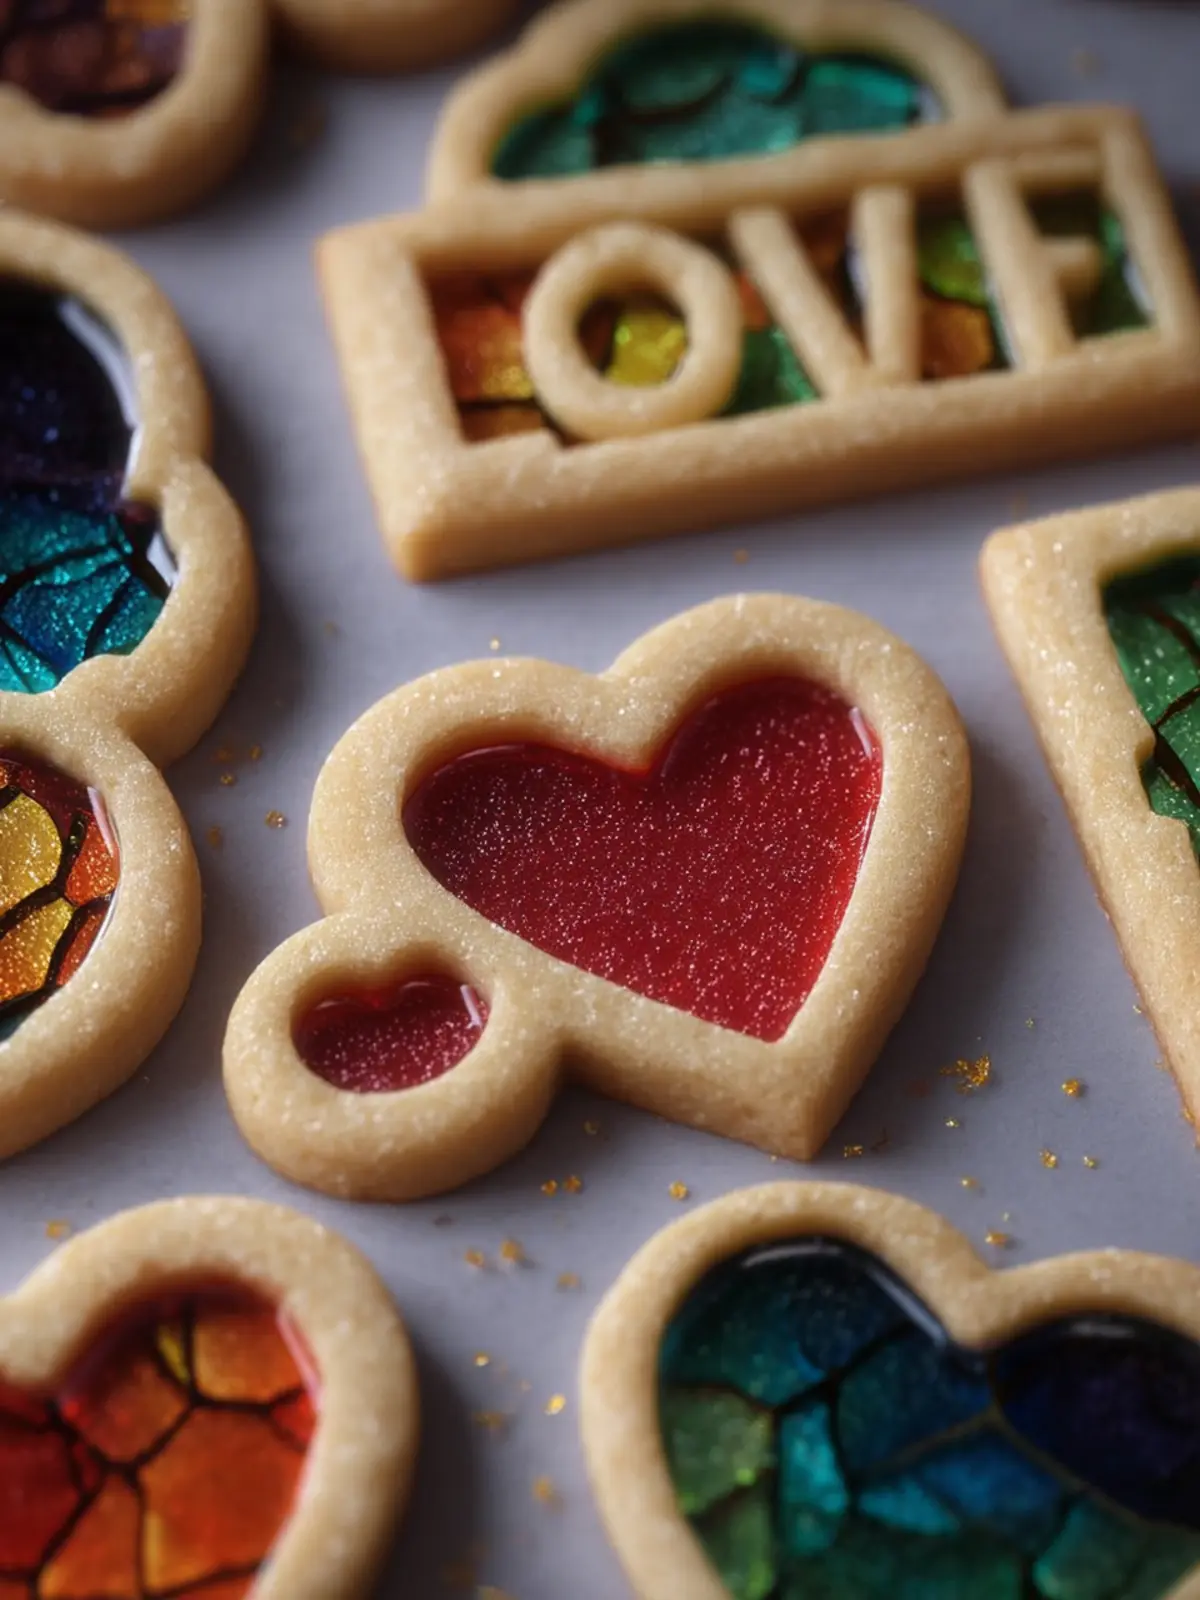
Imagine biting into a delightful cookie that sparkles and glimmers like a work of art, bursting with flavor and whimsy. Stained glass cookies bring a little magic to your kitchen, transforming simple ingredients into a dazzling treat that can enchant guests of all ages. These cookies are not just visually appealing; they also make for a fun baking project, perfect for holiday celebrations or cozy weekends spent with friends.
You might wonder what it takes to create these beautiful cookies. The process begins with a simple dough that serves as a canvas for your edible masterpiece. You can let your creativity shine as you cut the dough into various shapes—think classic holiday motifs like stars and trees or playful designs that spark joy. The real showstopper, however, is the crushed hard candy that fills in the center of each shape. As the cookies bake, the candy melts to form a colorful, glass-like window that captivates the eye and delights the taste buds.
What makes Stained Glass Cookies a must-try treat?
-
Visual Appeal: The shimmering, colorful centers of stained glass cookies are sure to catch the attention of anyone who sees them. They bring a festive touch to any gathering and can double as décor on your dessert table.
-
Customizable Shapes and Flavors: You can tailor these cookies to fit any theme or occasion. Use cookie cutters to shape the dough into any figure, and experiment with different candy colors and flavor combinations for a unique twist.
-
Fun for Everyone: Baking these cookies is a great way to engage friends and family, making it not just a cooking endeavor but also a cherished memory. Kids especially love helping with the decorating and candy!
-
Deliciousness Guaranteed: Beyond their beauty, the combination of buttery cookie and sweet, melted candy results in a treat that is as delicious as it is stunning. The cookies maintain a soft texture that pairs wonderfully with the crunchy candy center.
In your next baking adventure, consider making stained glass cookies. They’re a treat that’s as fun to bake as they are to eat, creating delightful memories one cookie at a time!
Key Ingredients for Stained Glass Cookies
Stained glass cookies are not just a treat for the taste buds; they’re a feast for the eyes as well! Each ingredient plays an essential role in bringing this beautiful and delicious creation to life.
Butter: The backbone of these cookies, butter lends a rich flavor and tender texture. Make sure to use unsalted butter, so you can control the saltiness of your dough. It’s at its best when softened, allowing for easy creaming with sugars to create a nice airy mixture.
Granulated Sugar: Adding sweetness and a delightful crispness, granulated sugar is crucial for that perfect bite. Its fine texture helps achieve a light, tender cookie that holds its shape wonderfully.
Eggs: Eggs act as a binding agent, providing moisture and structure. For this recipe, you’ll need this single egg to help bind the ingredients seamlessly, ensuring every cookie is soft and chewy.
Flour: All-purpose flour is ideal for this recipe, providing the backbone of the cookie structure. It gives the cookies stability as they bake.
Cornstarch: This ingredient adds a nice softness and lightness to the cookies. It helps to create that melt-in-your-mouth experience.
Hard Candy: The star of the show! When baked, crushed hard candies melt and create the stained glass effect in the center of each cookie. Opt for a variety of colorful candies for a vibrant aesthetic.
Each ingredient contributes a unique essence to your stained glass cookies, making them a wonderful way to express your creativity in the kitchen. Celebrating the blend of flavors and colors in each cookie batch is a delightful experience, perfect for any occasion!
Why You’ll Love These Stained Glass Cookies
These stained glass cookies are not just delightful treats but also small works of art that spark the joy of creativity in the kitchen. Imagine the sheer happiness of assembling colorful, jewel-like candies that melt into beautiful patterns as they bake. This recipe was inspired by a simple desire: to combine baking with the playful nostalgia of crafting as a child.
-
Visually Stunning: The kaleidoscope of colors created by the melted candies truly makes these cookies eye-catching. They’ll not only please your palate but also brighten up your dessert table.
-
Fun for Everyone: Whether you’re hosting a gathering or looking for a fun weekend project, these cookies are an excellent choice. Crafting them with friends or family can be a bonding experience; you can even let everyone choose their favorite candy colors!
-
Perfect for Any Occasion: From holiday parties to kids’ birthdays, stained glass cookies are versatile enough to be served regardless of the season. Their unique design and flavor make them memorable treats for any celebration.
-
Deliciously Sweet: Made with simple ingredients like butter, sugar, and flour, and finished off with vibrant candy centers, these cookies deliver that satisfying crunch balanced with delightful sweetness.
Baking these cookies will not just fill your kitchen with warmth and sweetness, but also create lasting memories. Dive into this fun baking adventure and watch your creations come to life!
Variations on Stained Glass Cookies
Discovering stained glass cookies opens the door to a world of creative possibilities in baking. You can transform your classic cookie recipe with unique flavors and vibrant colors, making them not only delicious but visually enchanting.
Flavor Infusions
-
Citrus Zest: Adding a hint of lemon or orange zest can brighten the flavor profile of your stained glass cookies. The zest introduces a refreshing aroma that complements the sweetness beautifully.
-
Spices: Try incorporating warm spices like cinnamon or nutmeg. This gives a cozy twist, perfect for fall or holiday festivities, making each bite feel like a warm hug.
Decorative Sugars
-
Colored Sugar: Instead of traditional crushed candies, sprinkle your cookies with colored sugar before baking. It adds a fun sparkle and can match any occasion theme, like pink for Valentine’s Day or green for St. Patrick’s Day.
-
Edible Glitter: For a touch of glam, consider finishing off your stained glass cookies with edible glitter. It will shimmer under the lights, making them an eye-catching treat for parties.
Themed Shapes
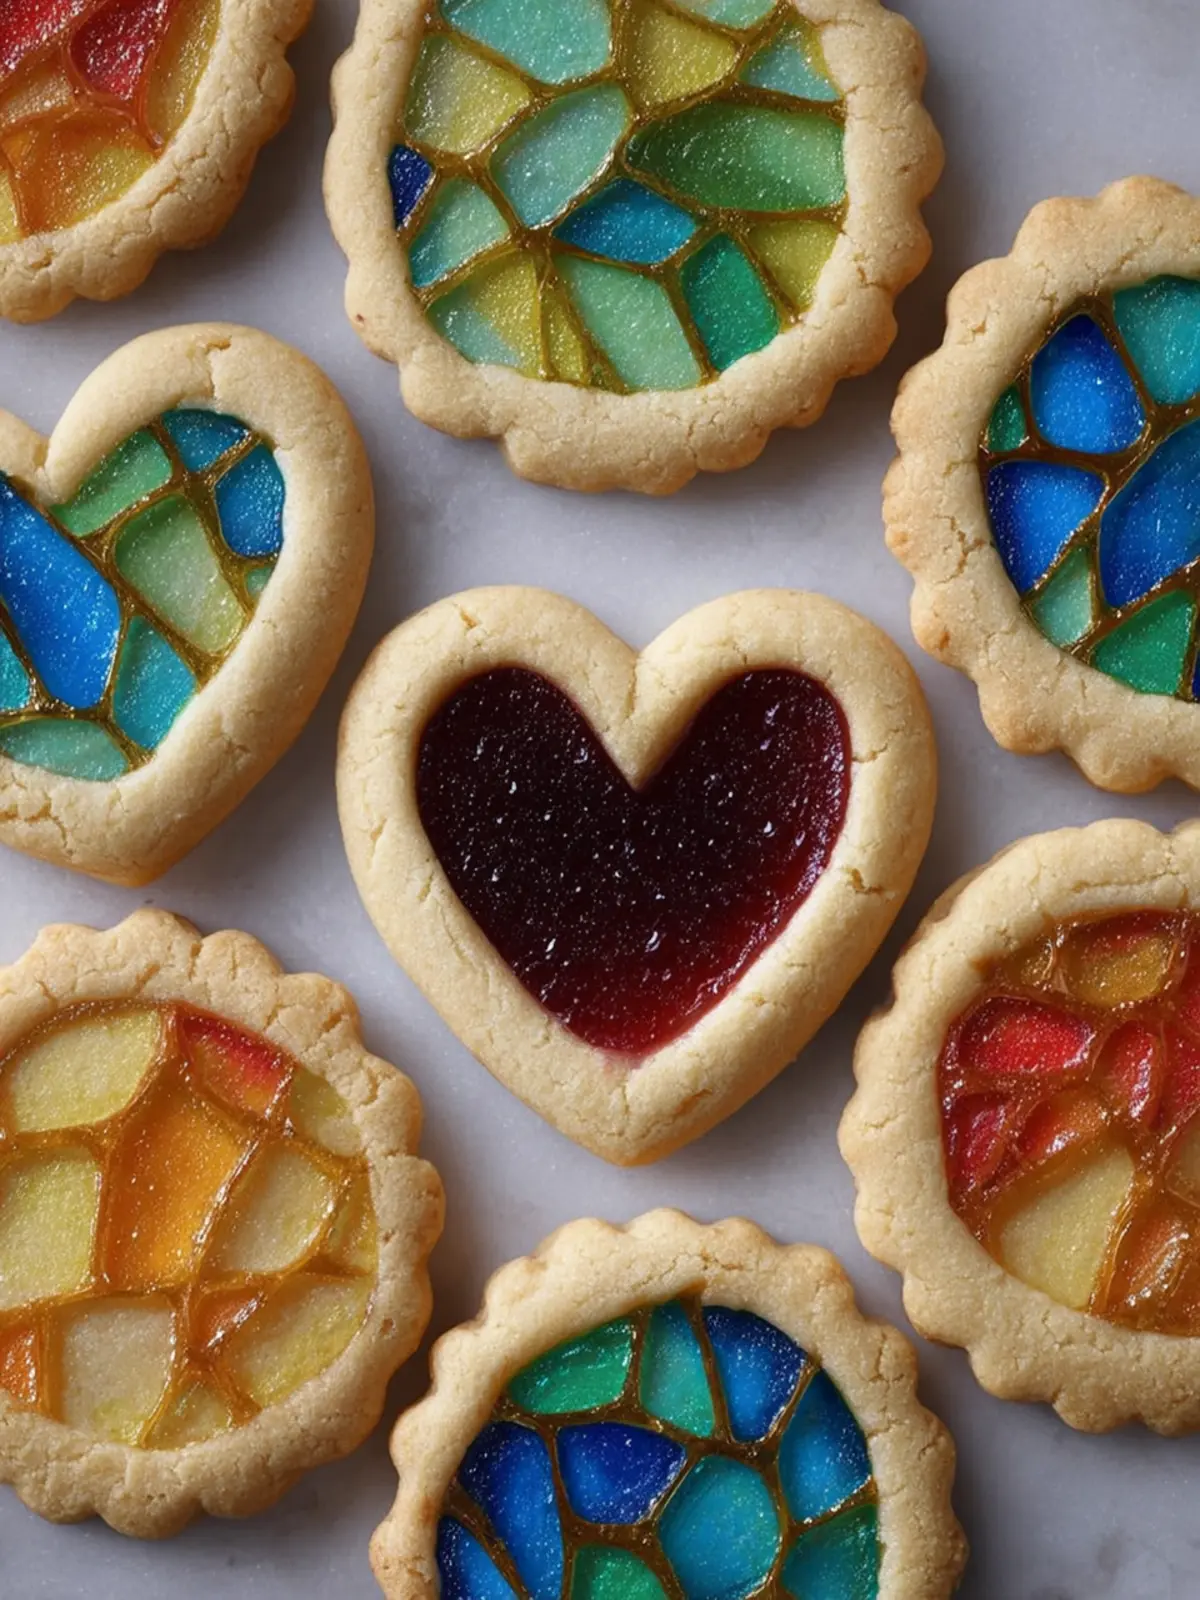
- Seasonal Cutouts: Use cookie cutters in amusing shapes like stars, hearts, or even holiday-themed designs. Each shape can tell a story, turning a simple cookie into an event centerpiece.
Experimenting with these adaptations not only showcases your creativity but also personalizes your stained glass cookies for any occasion, ensuring each bite is a delightful experience.
Cooking Tips and Notes for Stained Glass Cookies
Baking stained glass cookies is like crafting edible art, and with a few helpful tips, you can elevate your cookie-making game!
Choosing Your Candy
For that vibrant stained glass effect, hard candies are a must. I recommend using clear candies like Jolly Ranchers or Life Savers. They melt beautifully and provide stunning colors. Be sure to crush them into small pieces; this ensures a smooth, even melt and enhances the artistic look when they harden.
Perfecting the Dough
Creating the perfect cookie dough is crucial to achieving the right texture. As you mix, avoid overworking the dough. A gentle touch maintains the tenderness of your cookies. Also, chilling the dough for at least an hour gives it the right firmness for cutting out shapes. This step helps them hold their shape better during baking.
Decorating Tips
When it comes to decorating your stained glass cookies, don’t shy away from creativity! Use different shapes, and mix and match colors. If you’re looking for a fun twist, try adding edible glitter or sprinkles before baking for an extra magical touch.
Baking and Cooling
Keep an eye on your cookies while they bake; they can go from perfectly golden to overdone quickly. Allow them to cool on the baking tray for a few minutes before transferring them to a wire rack. This patience pays off in maintaining their shape.
With these tips in hand, you’re ready to make stained glass cookies that are not only delicious but also a visual treat!

Serving Suggestions for Stained Glass Cookies
Stained glass cookies are not just a treat for the taste buds; they’re also a feast for the eyes. These vibrant, gem-like creations could effortlessly become the centerpiece of your next gathering. Here are a few creative ways to enhance your treat experience.
Presentation Ideas:
- Festive Platters: Arrange your stained glass cookies on colorful platters for holidays or themed parties. The light shining through the translucent candies creates a magical effect that can wow your guests.
- Gift-Bag Goodies: These cookies make delightful gifts! Package a few in a clear cellophane bag tied with a ribbon, making them perfect for birthdays or thank-you gifts.
Pairing Inspirations:
- Beverage Matches: Serve these cookies alongside a warm cup of tea or freshly brewed coffee. The sweetness of the cookies complements the rich flavors of the drinks beautifully.
- Dessert Buffets: Include stained glass cookies on a dessert table at celebrations. Their whimsical appearance adds a charming touch to your spread, making it both playful and sophisticated.
By creatively incorporating stained glass cookies into your gatherings, you elevate not just the flavor but also the entire dining experience.
Time Breakdown for Stained Glass Cookies
Baking stained glass cookies is like creating edible art that delights both the eyes and the taste buds. Here’s a handy guide to help you plan your cookie-making adventure!
Preparation Time
Getting ready is half the fun! You’ll need about 30 minutes to gather your ingredients, mix your dough, and cut those festive shapes.
Chilling Time
Patience is key here, as the dough needs to chill for at least 1 hour. This step helps maintain the beautiful shapes of your cookies while baking.
Baking Time
The oven does its magic in just 10-12 minutes, transforming your dough into golden, shimmering masterpieces.
Total Time
From preparation to enjoying the finished cookies, plan for roughly 1 hour and 45 minutes. It’ll be worth every minute when you take that first bite!
Nutritional Facts for Stained Glass Cookies
Creating stained glass cookies fills the kitchen with warmth and joy, especially when shared with loved ones. Understanding their nutritional value is just as important as making them beautiful and delicious.
Calories
Each serving of stained glass cookies typically contains around 90 calories. This makes them a delightful treat that can be enjoyed in moderation without heavy calorie counting.
Sugar
With a delightful sweetness, these cookies pack about 12 grams of sugar per serving. While it’s easy to get carried away, remember that moderation is key to maintaining a balanced lifestyle.
Fats
Stained glass cookies generally have around 4 grams of fat each. The butter used in the dough gives them a rich flavor, while still keeping them suitable for occasional indulgence.
By being mindful of these nutritional facts, you can savor each bite of your stained glass cookies with ease and delight!
FAQs about Stained Glass Cookies
Stained glass cookies offer a delightful taste and a visual treat, but they can also raise some questions in the kitchen. Let’s tackle some of the most common queries about these gorgeous cookies, ensuring your baking experience ends with a triumphant finish!
Can I use different types of hard candy?
Absolutely! While traditional stained glass cookies often call for clear or light-colored hard candies like Jolly Ranchers, feel free to experiment with other types that melt well. Try using fruit-flavored candies or those with vibrant colors; just remember that dark-colored candies might change the look of your cookies. The fun part about making stained glass cookies is that you can customize them to suit your style!
How should I store my stained glass cookies?
These cookies are best enjoyed fresh, but if you need to store them, do so in an airtight container to maintain their crispiness. Layer them between sheets of parchment paper to prevent breakage. When stored this way, they can last for up to a week—perfect for sharing with friends or saving for a special occasion!
What can I do if my candy spills over while baking?
If you encounter a candy spill-over situation, don’t panic! Let the cookies cool down completely before trying to remove excess candy. Using a small, sharp knife or spatula can help to scrape away any sticky edges without ruining the cookie’s shape. In the future, consider adjusting your cutouts or using slightly less candy to minimize spills. Happy baking!
Conclusion on Stained Glass Cookies
In conclusion, stained glass cookies are not just delightful desserts; they are a canvas for creativity and fun! These cookies can brighten any occasion and are perfect for sharing with friends or family. Remember, the key to a successful batch lies in the quality of your ingredients — be it vibrant candies or the freshness of your dough. Don’t hesitate to experiment with different shapes and colors to make them uniquely yours. The joy of seeing those colorful, translucent windows in each cookie is truly rewarding. So gather your materials and let your baking adventure begin — your kitchen deserves it!
Print
Stained Glass Cookies
- Total Time: 2 hours 40 minutes
- Yield: 24 cookies 1x
Description
These stained glass cookies are a delightful treat, perfect for any occasion. With a beautiful candy center, they are both fun to make and delicious to eat!
Ingredients
Scale
- 3 cups all-purpose flour
- 1 teaspoon cream of tartar
- 1 teaspoon salt
- 1 cup butter (room temperature)
- 1 cup sugar
- 2 large eggs
- 1 teaspoon vanilla extract
- 1/2 teaspoon almond extract
- 20–30 pieces crushed hard candy (Life Savers, Jolly Ranchers, or other hard candy)
Instructions
- In a medium-sized bowl, whisk together the flour, cream of tartar, and salt and set aside.
- Place room temperature butter and sugar in the bowl of a stand mixer and cream with the paddle attachment until light and fluffy—about 3 minutes.
- Slowly add the eggs, almond extract, and vanilla extract and mix again until combined.
- Add the flour mixture to the butter mixture and mix until combined. Scrape the bowl to make sure that all of the butter mixture has mixed in completely.
- Cover with plastic and chill in the fridge for about 2 hours (or overnight).
- Preheat oven to 325 degrees F.
- Sprinkle the counter and rolling pin lightly with flour. Roll the dough on your floured surface until it is about 1/4″ thick.
- Cut cookies out into desired shapes, then use a smaller cookie cutter to cut out small shapes inside each cookie to make a stained glass window.
- Place on a baking sheet lined with parchment paper at least 1″ apart. Add the crushed candy and fill with as much candy as possible without overfilling the hole.
- Bake in a preheated 325 degree F oven for 8-10 minutes, or until the edges are set and there is just a hint of golden brown color.
- Let the cookies cool for about 2 minutes on the baking sheet before transferring them to a countertop to cool completely.
- Enjoy!
Notes
- For best results, chill the dough well before rolling it out to prevent stickiness.
- Experiment with different color hard candies for beautiful stained glass effects.
- Prep Time: 30 minutes
- Cook Time: 10 minutes
- Category: Dessert
- Method: Baking
- Cuisine: American
Nutrition
- Serving Size: 1 cookie
- Calories: 100
- Sugar: 10g
- Sodium: 80mg
- Fat: 5g
- Saturated Fat: 3g
- Unsaturated Fat: 2g
- Trans Fat: 0g
- Carbohydrates: 15g
- Fiber: 0g
- Protein: 1g
- Cholesterol: 30mg