Follow Me On Social Media!


Homemade Rice Flour: The Best Way to Elevate Your Cooking
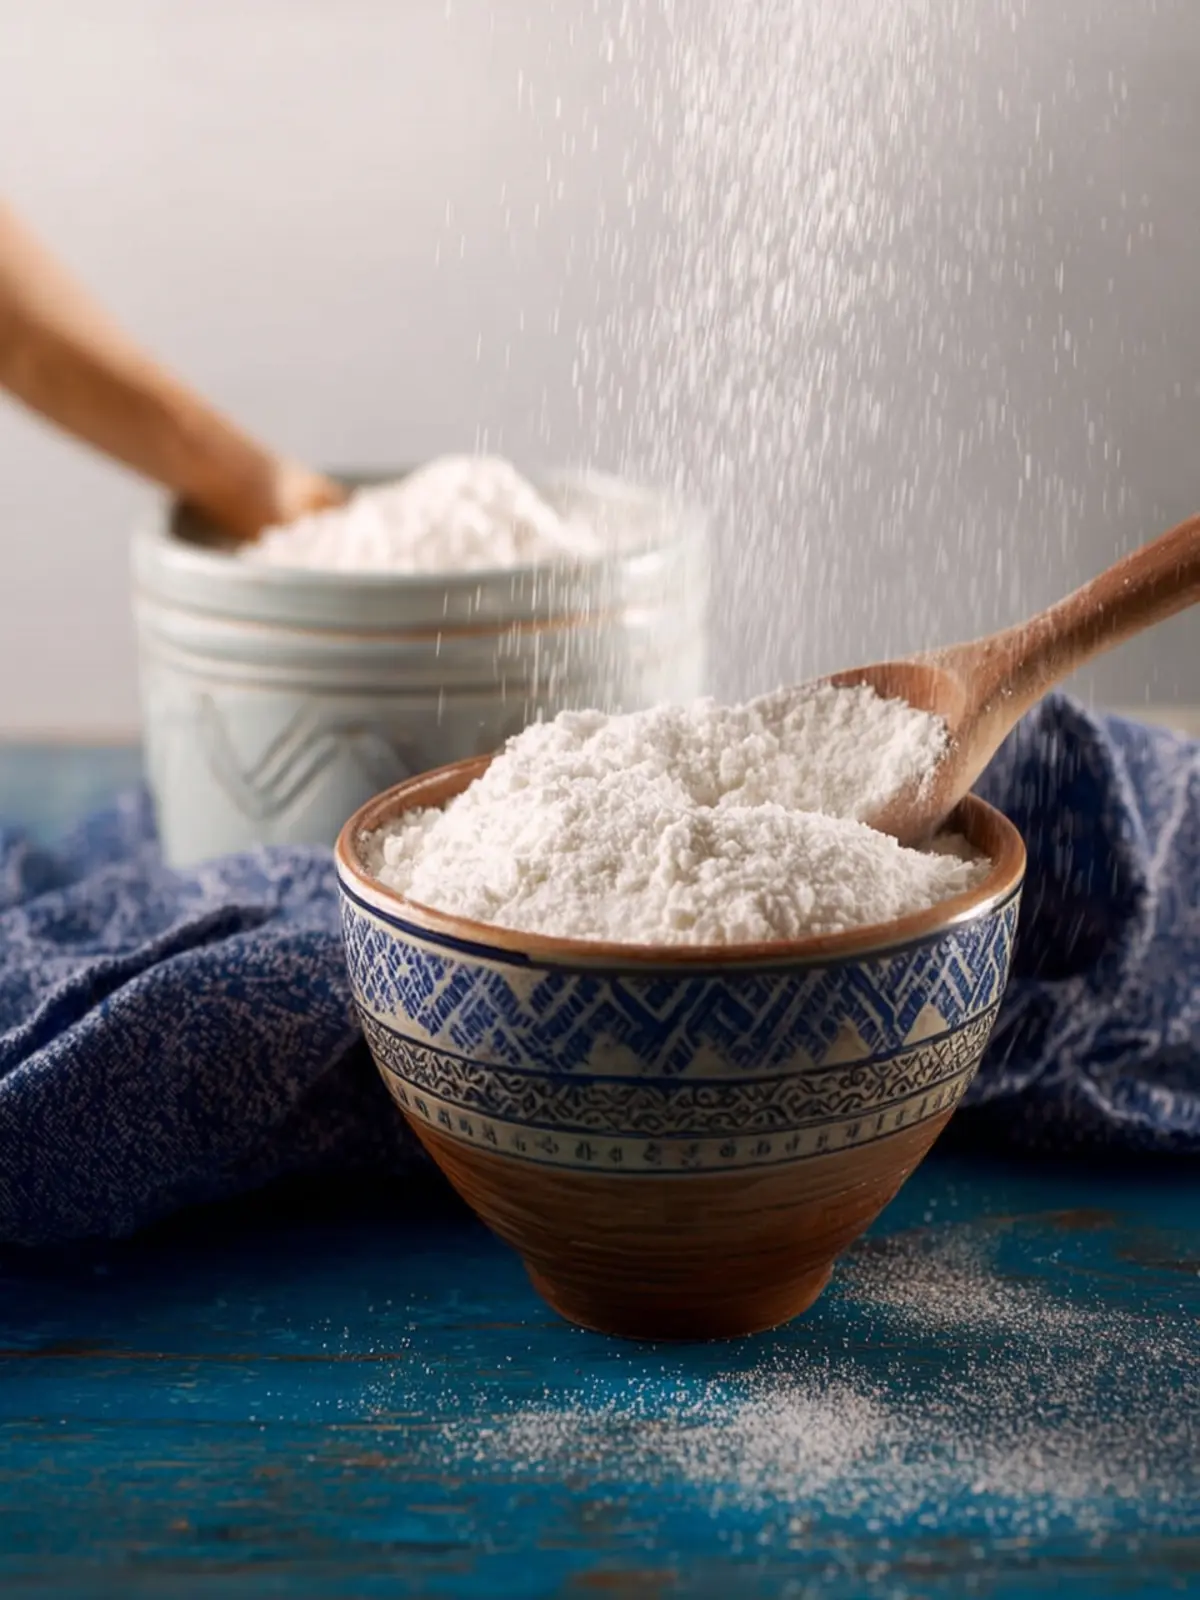
Introduction to Homemade Rice Flour
Homemade rice flour is a hidden gem in the culinary world, and once you create it yourself, you’ll wonder how you ever lived without it. Imagine the aroma of freshly ground rice wafting through your kitchen, transforming your everyday recipes into amazing gluten-free creations. Whether you’re whipping up a batch of delicate pancakes or making a luxurious sauce, homemade rice flour offers a texture and flavor superiority that store-bought options simply can’t match.
One of the standout qualities of homemade rice flour is its versatility. You can use it in both sweet and savory dishes, creating everything from delicious rice noodles to light and fluffy cakes. It’s not just a substitute; it adds a unique nuttiness to your recipes that enhances their overall taste. Plus, taking the time to grind your rice ensures the flour is as fresh as possible, which often results in better baking outcomes.
What makes homemade rice flour so special?
When you decide to make your own rice flour, you’re doing more than just following a trend; you’re embracing a practice rich in tradition and flavor. Here are some reasons why it stands out:
- Quality Control: You choose the type of rice, whether it’s white, brown, or even jasmine, ensuring you create a flour that suits your specific needs and dietary requirements.
- Freshness: Grinding the rice right before use means the flour retains more of its natural oils and nutrients, enhancing both flavor and health benefits.
- Customizable Texture: You’ve got the power to decide how fine or coarse you want your flour. A finer grind works best for baking, while a coarser texture could work for unique recipes like dumplings.
Homemade rice flour not only opens up a world of cooking possibilities but also offers health benefits, especially for those with gluten sensitivities. With just a simple rice grinder or blender, you’ll find that making this essential ingredient is not only satisfying but also incredibly rewarding. Dive in, and your future culinary adventures will be all the more delicious.
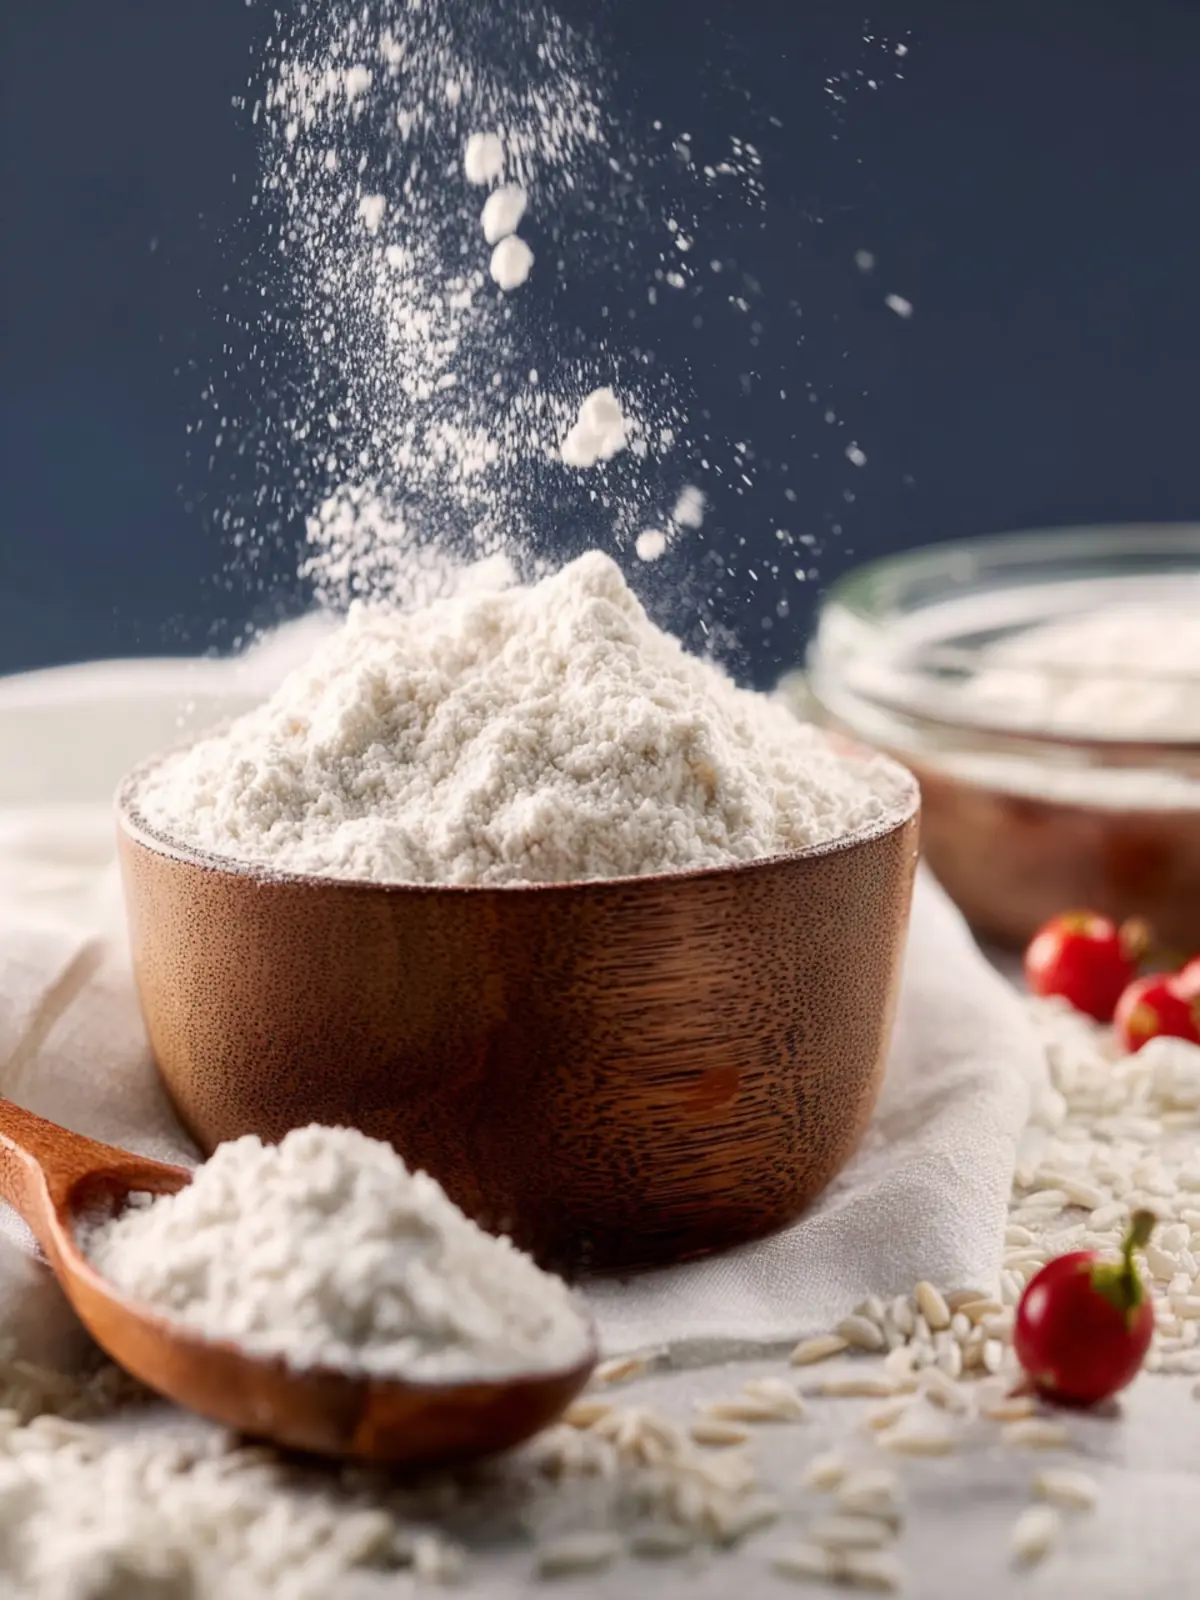
Key Ingredients for Homemade Rice Flour
When you embark on the delightful journey of making homemade rice flour, it’s essential to choose the right type of rice to achieve a fine texture that works beautifully in your recipes.
-
Rice: I recommend using medium or short-grain rice for a smoother flour. Varieties like Arborio or Calrose produce a creamier, softer flour essential for dishes like rice cakes or pancakes. If you prefer a more nutritious option, brown rice offers a nutty flavor and added health benefits.
-
Grinder: A high-quality blender, food processor, or dedicated grain mill does wonders. The right equipment will ensure that your rice is finely ground, resulting in a light and fluffy flour that’s perfect for baking.
-
Sieve: After grinding, using a fine-mesh sieve can help catch any larger particles that need further grinding. This step ensures that your flour is consistently silky and smooth.
With these key ingredients, your homemade rice flour will be a fantastic gluten-free alternative that you’ll want to use in all your favorite recipes!
Why You’ll Love This Recipe
Making your own homemade rice flour is an empowering experience that not only elevates your cooking but also connects you to a cornucopia of culinary traditions. Picture this: you’ve just ground the rice into a fine, powdery flour, and the scent drifts through your kitchen, reminding you of your favorite Asian dishes like rice cakes or savory dumplings.
The beauty of this recipe lies in its simplicity and the endless possibilities it opens up.
-
Cost-Effective: Instead of purchasing specialty rice flour from the store, making your own can save money. Plus, you can use any type of rice you prefer—be it white, brown, or even jasmine!
-
Freshness: There’s something gratifying about using freshly ground ingredients. The flavor of your dishes will be more pronounced, and you can experiment with different rice varieties to find your favorite.
-
Health Benefits: By making homemade rice flour, you can control the quality of the rice, ensuring it’s free from additives and chemicals commonly found in store-bought products.
-
Simple Steps: The process requires minimal equipment and effort, making it the perfect weekend project. Just a blender or food processor will do!
Overall, embracing your kitchen skills with this simple recipe can lead to deliciously rewarding meals and a newfound appreciation for the art of cooking.
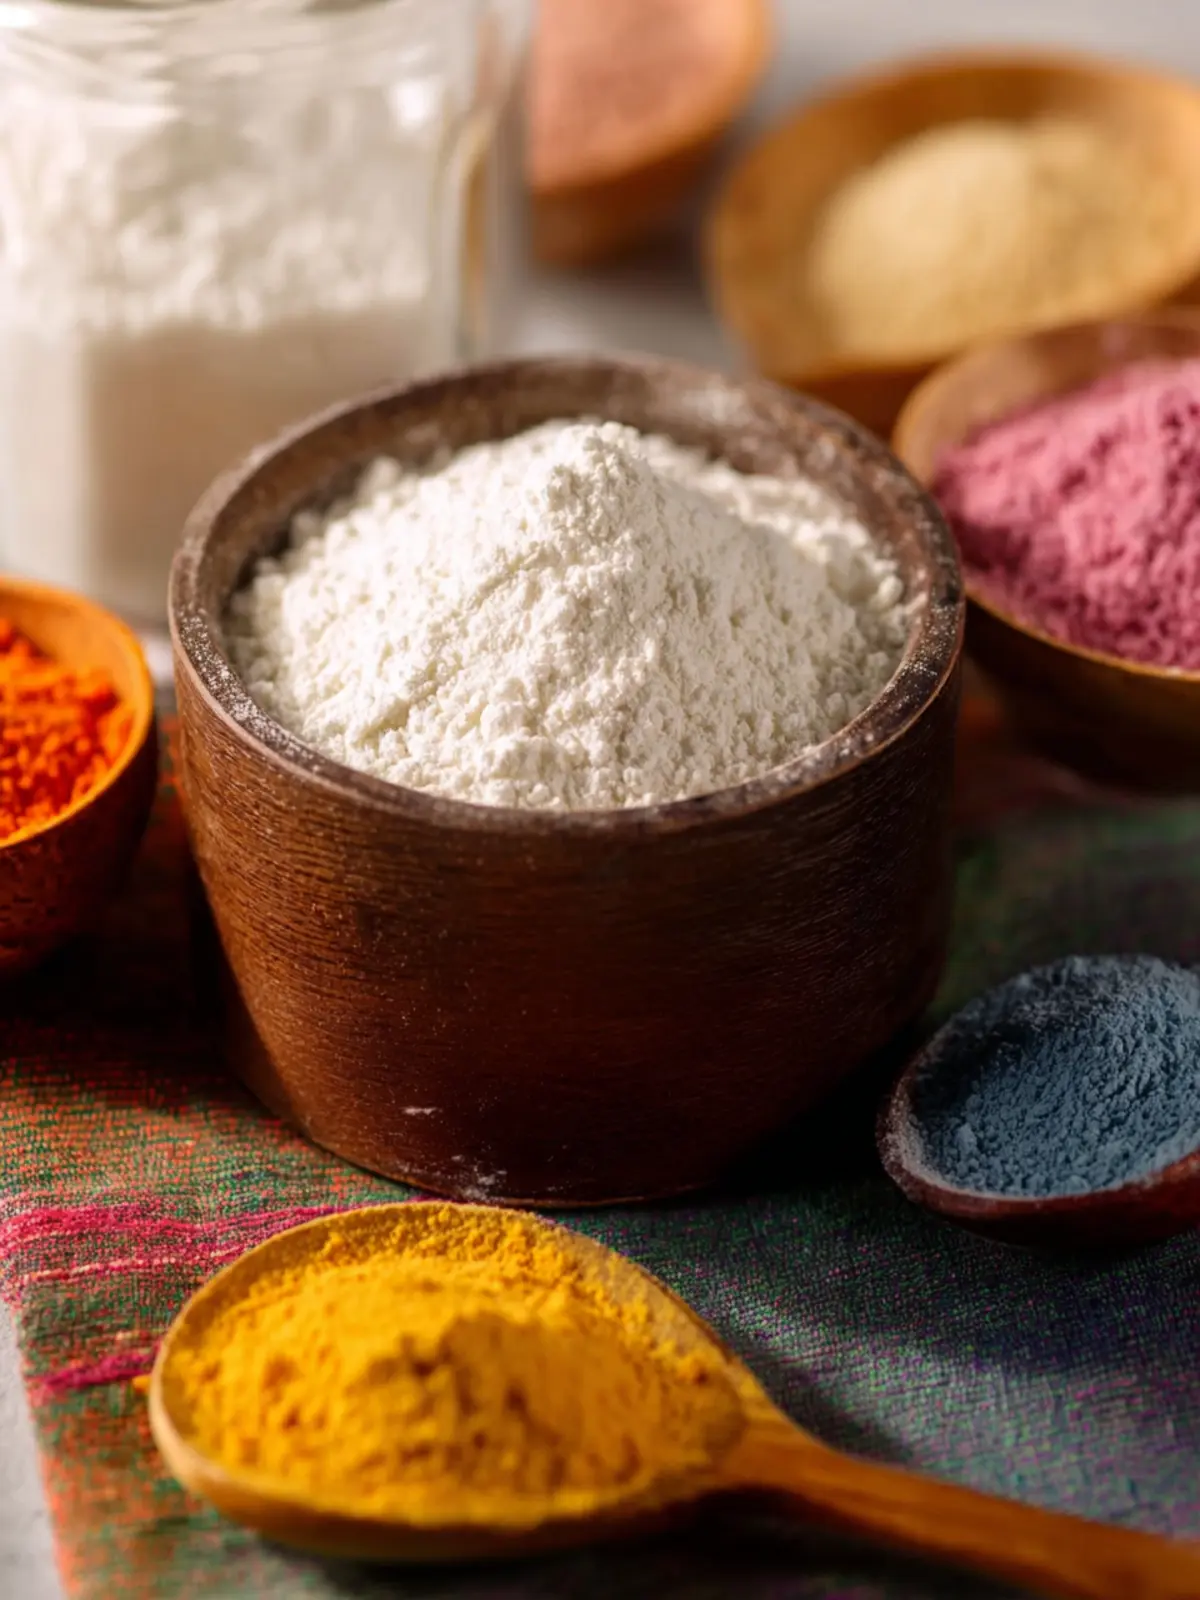
Variations
When it comes to crafting homemade rice flour, the endless possibilities for variation are truly exciting. This versatile ingredient can easily adapt to a wide range of recipes, each with its own delightful spin.
Sweet Rice Flour for Desserts
If you’re eyeing a dessert option, consider using glutinous rice to create sweet rice flour. This type has a sticky texture that makes it perfect for desserts like mochi or Asian rice cakes. The flavor becomes sweeter and richer, taking your treats to the next level.
Savory Rice Flour for Goods
For those savory recipes, brown rice flour can be an excellent alternative to enhance your favorite dishes. It adds a hint of nuttiness and deepens the flavor profile of everything from pancakes to breads, making it a great companion for savory meals.
Blending with Other Flours
You can also experiment by blending homemade rice flour with other types of flours. Combining it with almond flour, for instance, can yield a gluten-free pancake mix that delights the taste buds with a wonderful texture and flavor.
Flavor Infusions
Feeling adventurous? Incorporate spices directly into your homemade rice flour. Adding a pinch of cinnamon or nutmeg can infuse warmth into your recipes, transforming the ordinary into something extraordinary.
No matter the variation you choose, your homemade rice flour adventure is bound to be deliciously rewarding!
Cooking Tips and Notes
Making homemade rice flour is not just an easy kitchen project; it’s a gateway to creating delicious gluten-free recipes that are both healthy and tasty. As I ventured into making my own rice flour, I discovered a few tips and tricks that can transform an ordinary cooking experience into something wonderful.
Choose the Right Rice
The type of rice you use can significantly impact the flavor and texture of your homemade rice flour. I personally prefer long-grain rice like Jasmine for its subtle fragrance, but short-grain rice also works beautifully. Experiment to find the rice that suits your palate best!
Grinding Technique Matters
For the finest flour, make sure to blend in small batches. Overloading your grinder can lead to uneven consistency. I often pulse my rice briefly before running it continuously to achieve that soft, powdery texture perfect for baking.
Sift for Consistency
After grinding, sifting your flour is essential to remove any larger grains. This step not only ensures a uniform texture but also helps in achieving fluffier baked goods. I’ve learned that flawlessness in flour can make a big difference in a recipe!
Storage Tips
Once you’ve created your homemade rice flour, store it in an airtight container in a cool, dry place. This keeps it fresh for up to a month. If you’re making a larger batch, consider freezing it for longer shelf life.
By considering these tips, your journey into making homemade rice flour can be a fulfilling and delicious experience, leading to delightful dishes that everyone will enjoy!
Serving Suggestions
Homemade rice flour opens up a world of culinary possibilities, each ready to delight your taste buds. Here are some fantastic ways to serve and enjoy this versatile ingredient:
-
Gluten-Free Pancakes: Use homemade rice flour as a base for light and fluffy pancakes. Pair them with fresh fruit or a drizzle of maple syrup for a satisfying brunch.
-
Breading for Fried Foods: For a crispy texture, use rice flour to coat chicken or vegetables before frying. It absorbs less oil than regular flour, making your dish lighter and crunchier.
-
Thickener in Soups and Sauces: Incorporate homemade rice flour to thicken soups or sauces. Simply mix it with a bit of cold water before adding to your hot mixture for a smooth consistency.
-
Delicate Cakes and Muffins: Experiment with using rice flour in your baked goods. It can create a tender crumb, making cakes and muffins incredibly moist.
Enjoy experimenting with homemade rice flour in your kitchen, and let it elevate your cooking with its unique texture and flavor!
Time Breakdown for Homemade Rice Flour
Making your own homemade rice flour can seem daunting, but it’s surprisingly quick and rewarding. Here’s how the process breaks down, so you know you can fit it into your day.
Preparation Time
Before diving into the grinding, allow about 10 minutes for preparation. This includes rinsing the rice to ensure impurities are washed away and soaking it to achieve the desired texture.
Grinding Time
Once your rice is prepped, the grinding process takes approximately 15-20 minutes. A high-quality blender or food processor will do the trick, transforming your soaked rice into a fine, powdery flour.
Total Time
In total, you’re looking at around 30-35 minutes from start to finish. It’s a small investment in time to enjoy the delightful freshness of your homemade rice flour.
Nutritional Facts for Homemade Rice Flour
Creating your own homemade rice flour not only elevates your recipes but also allows you to keep an eye on the nutritional content. Understanding the nutrition behind this versatile ingredient can help you make healthier choices in the kitchen.
Calories
A quarter-cup serving of homemade rice flour contains approximately 120 calories. This makes it a great base for gluten-free recipes without overwhelming your daily caloric intake.
Carbohydrates
Rice flour is primarily made up of carbohydrates, clocking in at about 28 grams per quarter cup. These carbs are a fantastic source of energy, particularly if you’re looking for a boost before a workout or a busy day.
Protein
While rice flour isn’t a protein powerhouse, it does contain about 2-3 grams of protein per quarter cup. Combining it with other protein-rich foods like beans or nuts can create a more balanced meal.
Using homemade rice flour can be an easy switch to enhance your dishes while supporting your nutritional goals.
FAQ about Homemade Rice Flour
When embarking on the delightful journey of making homemade rice flour, understanding the ins and outs can turn your culinary efforts into a satisfying success. Let’s dive into some common questions that might just make your experience a bit smoother.
Can I use other types of rice for homemade rice flour?
Absolutely! While white rice is commonly used for homemade rice flour, you can experiment with a variety of rice types. Brown rice provides a nuttier flavor and more fiber, while jasmine or basmati rice can add a subtle aroma. Just keep in mind that the flour’s texture and flavor may vary slightly, so be ready for some tasty surprises in your baking!
How do I store homemade rice flour?
Storing your homemade rice flour properly is key to maintaining its freshness. Pour the flour into an airtight container and keep it in a cool, dry place—this helps prevent moisture absorption. If you’re not planning to use it soon, consider refrigerating or even freezing it to prolong its shelf life. Just remember to bring it back to room temperature before using it in your recipes for the best results!
What recipes can I use homemade rice flour for?
The versatility of homemade rice flour is truly impressive! You can use it to create:
- Gluten-free pancakes and waffles
- Rice flour noodles
- Thickening agents for soups and sauces
- Baked goods, such as breads and cookies
Whether you’re craving traditional Asian dishes or looking to bake something new, homemade rice flour opens up a world of culinary possibilities. Get creative, and enjoy experimenting with your homemade blend in your favorite recipes!
Conclusion on Homemade Rice Flour
Creating homemade rice flour is not just about cooking; it’s an exploration of culinary creativity. Whether you’re gluten-sensitive or simply looking to enhance your recipes, making your own rice flour can be incredibly rewarding. It offers a fresher taste and texture compared to store-bought options. The process is simple: just blend your choice of rice until fine. Incorporating your homemade rice flour into various dishes, from gluten-free pancakes to delicate pastries, opens up exciting culinary possibilities. So roll up your sleeves, get experimenting, and enjoy the flavorful results that come from your kitchen!
Print
Ground Long Grain White Rice
- Total Time: 5 minutes
- Yield: Approximately 2 cups of rice flour 1x
- Diet: Gluten-Free
Description
A simple method to grind long grain white rice into fine flour.
Ingredients
Scale
- 2 cups Long Grain White Rice
Instructions
- Place the rice in your grinder and grind for about 15 seconds or until nice and fine like flour.
- Most grinders won’t be able to fit the full 2 cups of rice, so just do it a bit at a time.
- If desired, sift the flour to ensure no little chunks of rice remain behind.
- Store in an airtight container, in a cool, dry area for up to 5 months (sometimes longer).
Notes
- Ensure the container is airtight to maintain freshness.
- Can be used for various recipes requiring rice flour.
- Prep Time: 5 minutes
- Category: Baking
- Method: Grinding
- Cuisine: Various
Nutrition
- Serving Size: 1 cup
- Calories: 685
- Sugar: 0 g
- Sodium: 0 mg
- Fat: 1 g
- Saturated Fat: 0 g
- Unsaturated Fat: 0 g
- Trans Fat: 0 g
- Carbohydrates: 146 g
- Fiber: 2 g
- Protein: 13 g
- Cholesterol: 0 mg