Follow Me On Social Media!

Mini Red Velvet Brownies: Irresistibly Gooey Red Treats!
Introduction to Mini Red Velvet Brownies
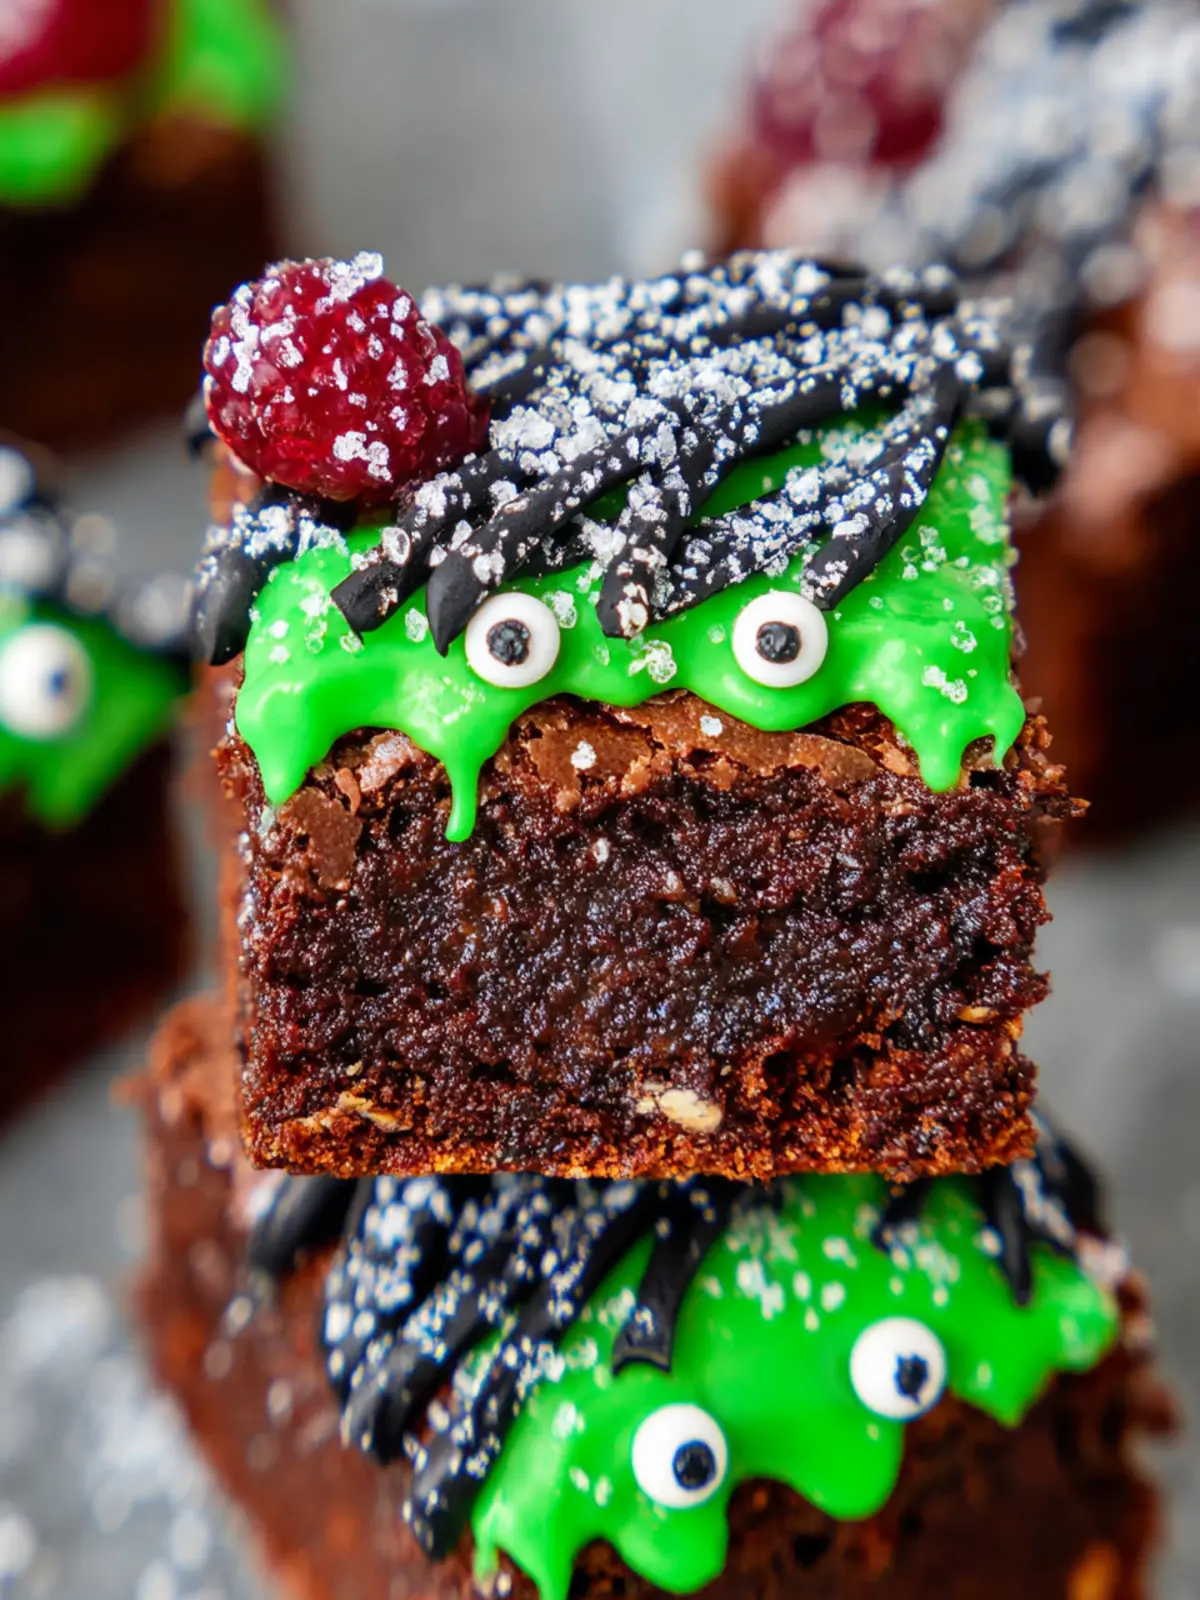
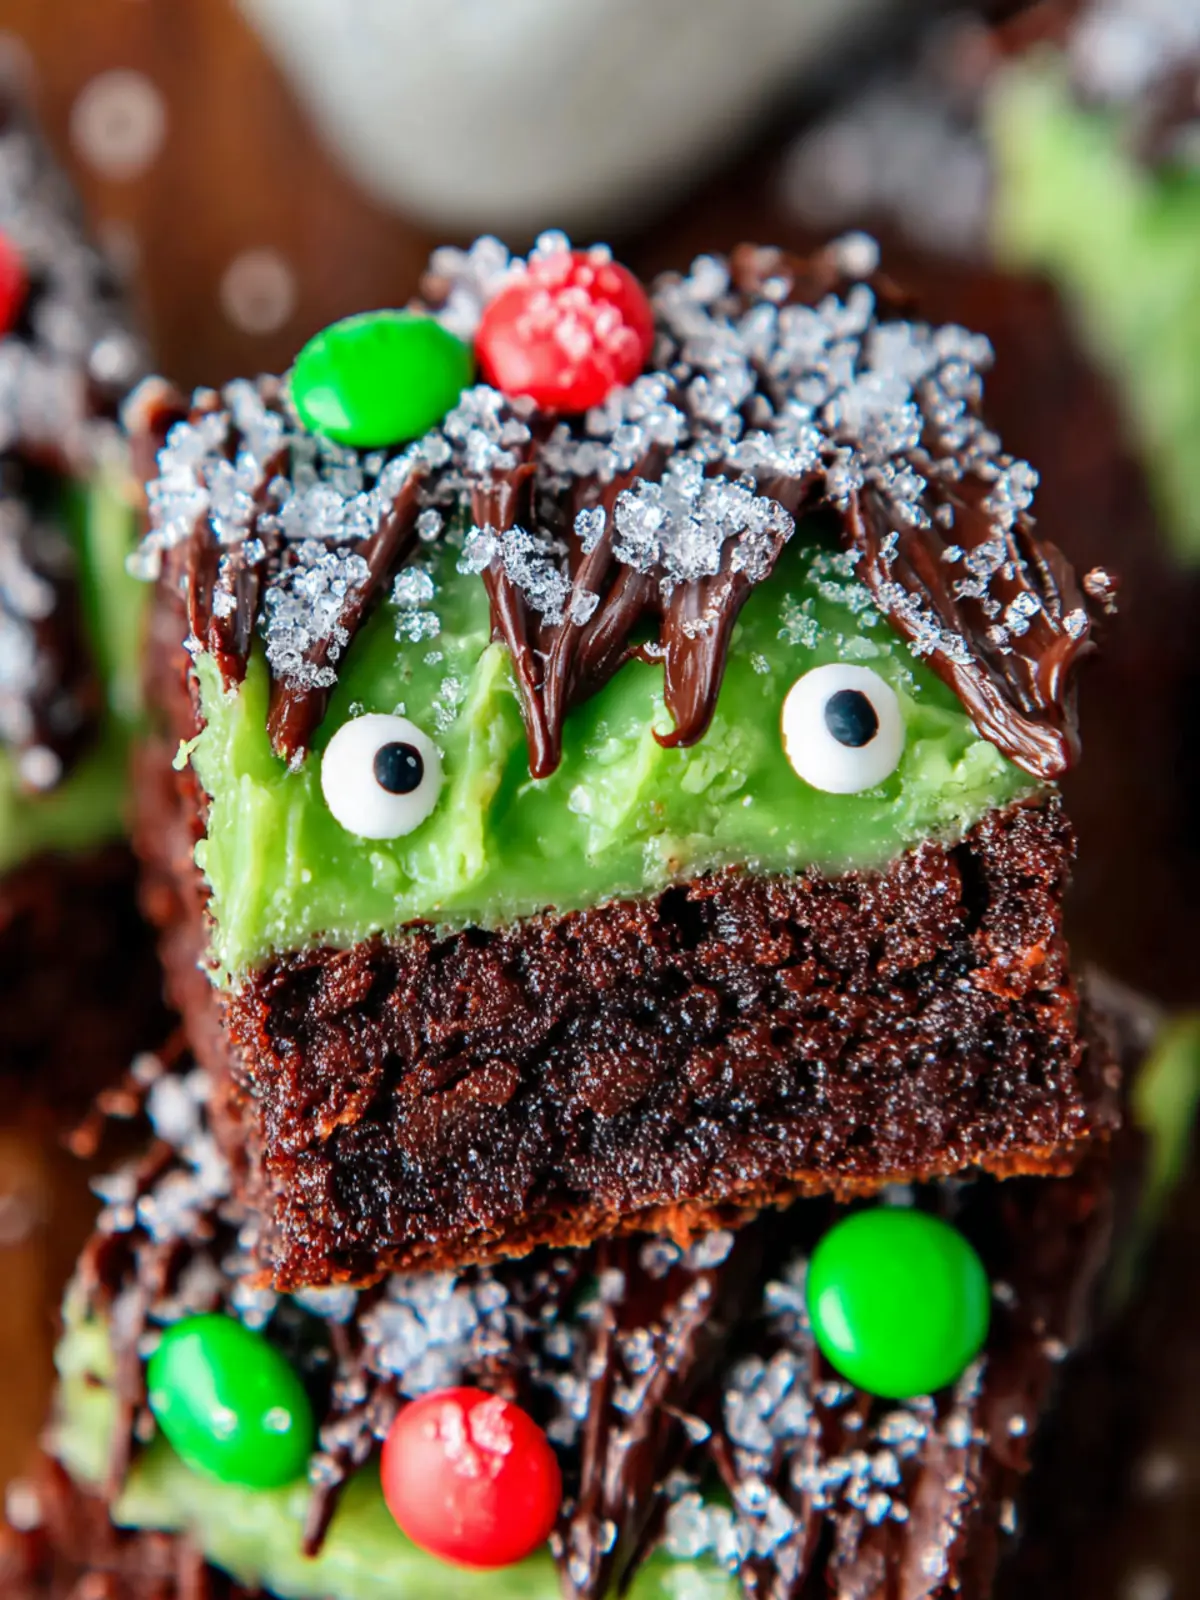
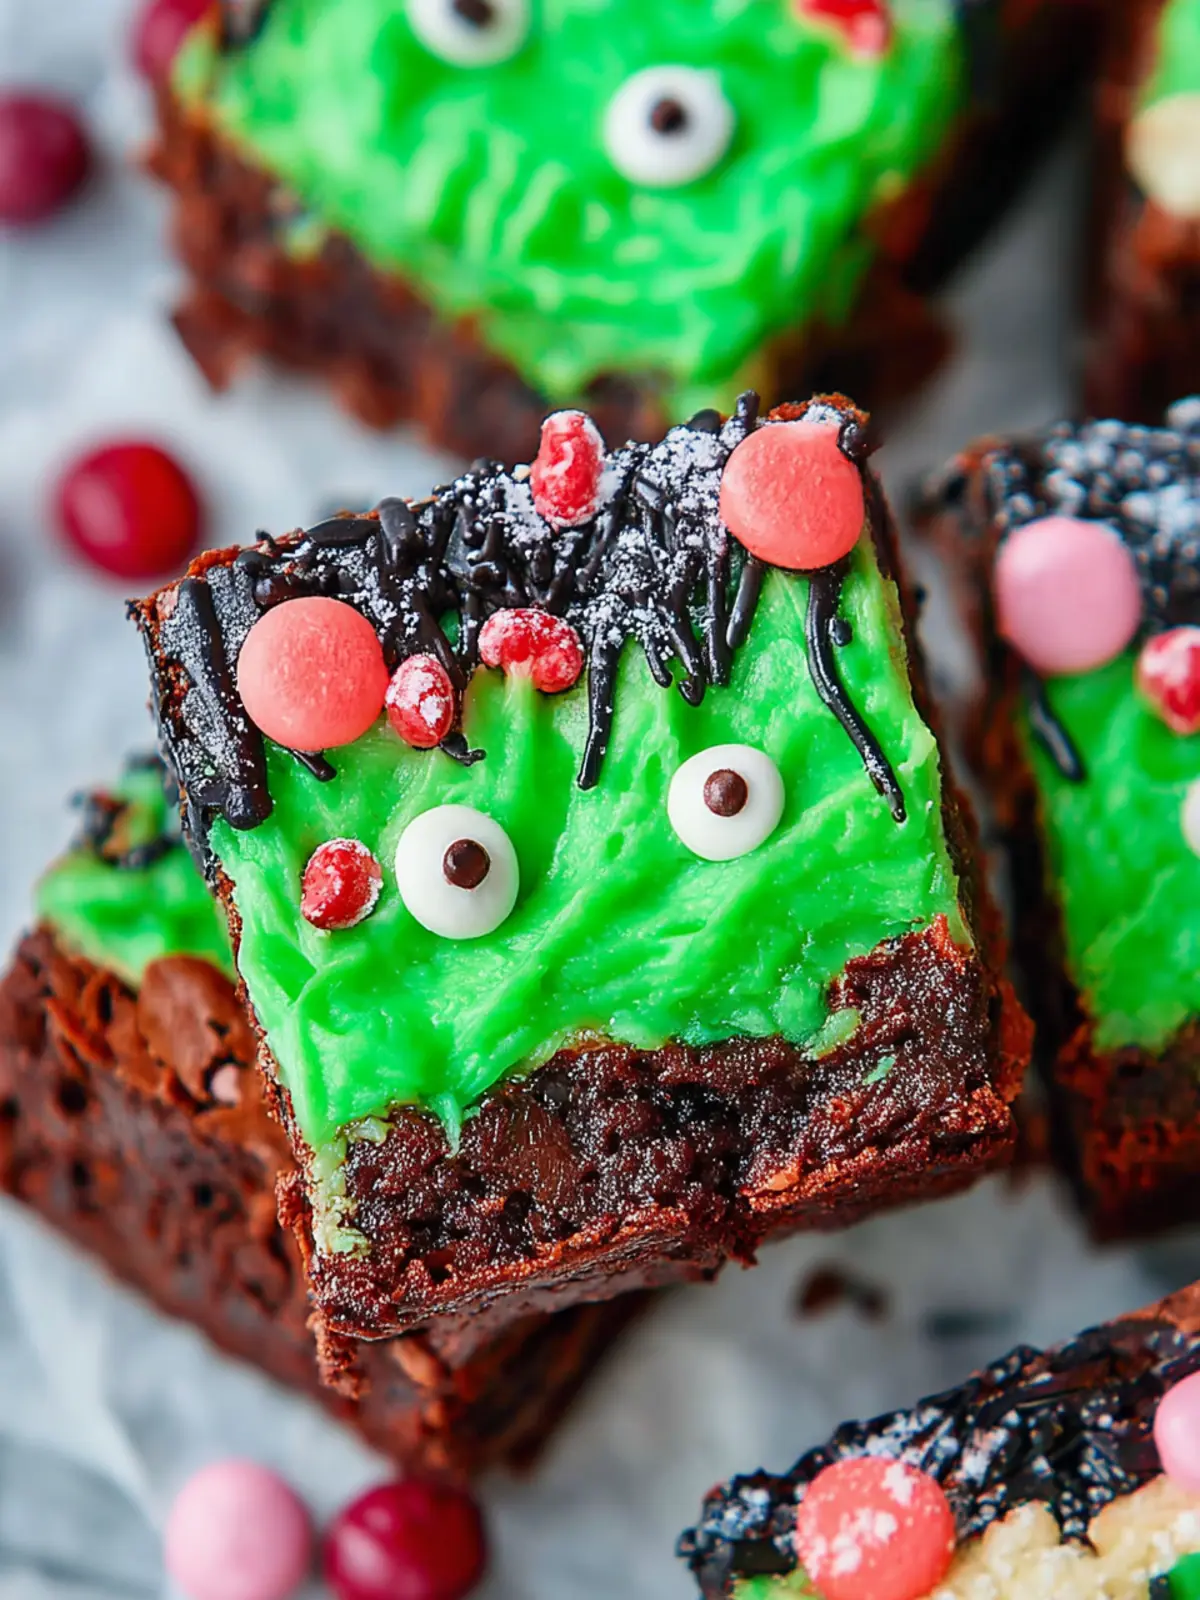
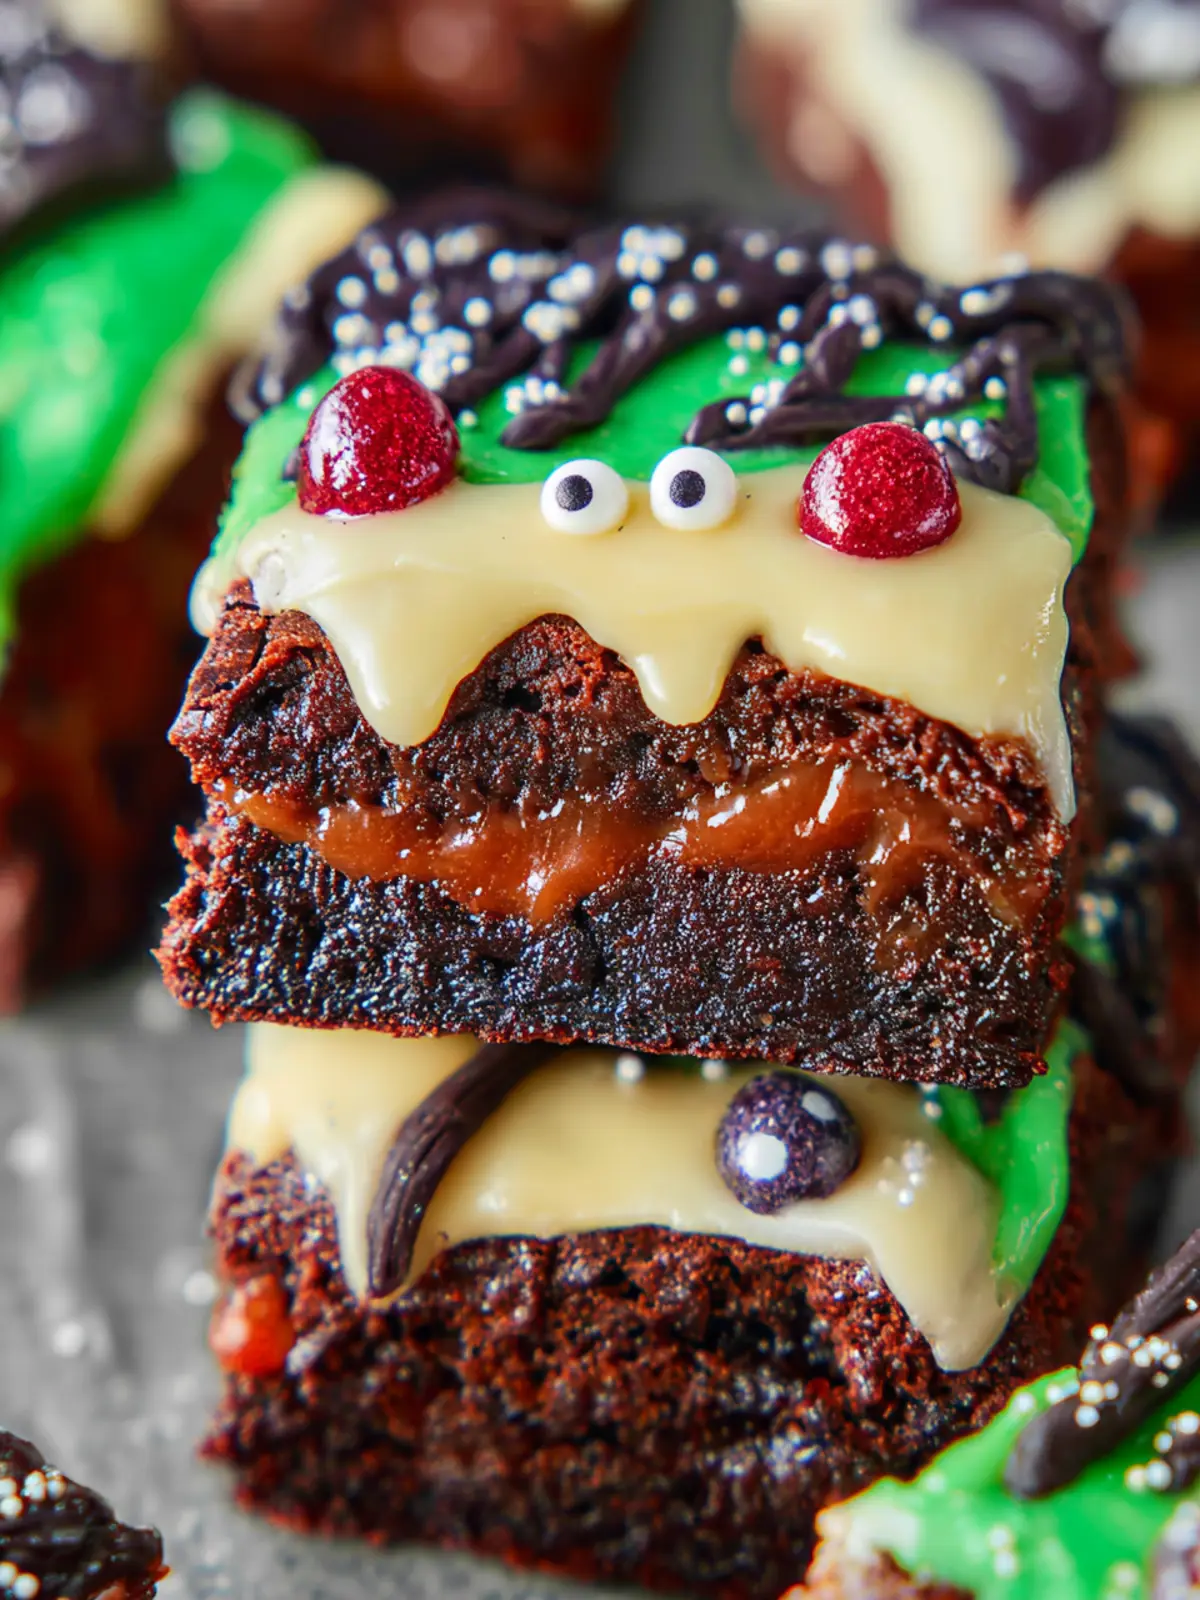
Imagine sinking your teeth into a decadent mini red velvet brownie, where rich chocolate flavors are combined with the signature hue of red velvet and a creamy frosting that brings everything together. These delightful bites encapsulate the joy of a classic dessert while being perfectly sized for a quick indulgence. They make a fantastic addition to gatherings, celebrations, or even as a sweet treat to brighten your own day.
What makes these mini red velvet brownies so irresistible? For starters, their vibrant color draws you in, making them visually stunning on any dessert table. The blend of cocoa powder and buttermilk creates a moist texture that melts in your mouth, complemented by just the right balance of sweetness. Top this with a smooth cream cheese frosting, and you have a party for your taste buds.
These miniature brownies also bring a certain charm with their size—small enough to enjoy in just a few bites, but rich enough to satisfy your sweet tooth. They’re a crowd-pleaser at parties, a perfect treat for brunch, or a delightful surprise to elevate your weekday afternoon. Plus, who can resist that classic red velvet flavor that combines a hint of cocoa with a slight tanginess from the buttermilk?
Whether you’re celebrating a special occasion or simply treating yourself, mini red velvet brownies offer the perfect combination of fun and flavor. They are wonderfully adaptable too; feel free to add your creative twist, whether it’s nuts, sprinkles, or even a dash of espresso for an extra kick.
So, as you gather your ingredients and prepare to bake, remember that each bite of these brownies is crafted with love and a little bit of culinary magic. Trust me, once you try these mini red velvet brownies, you’ll find it hard to resist making them again and again. Get ready to indulge in this sweet treat that’s sure to impress!
Key Ingredients for Mini Red Velvet Brownies
The allure of mini red velvet brownies stems from their rich texture and vibrant color, making them perfect for any occasion. Let’s delve into the key ingredients that create these delightful treats, ensuring each bite is a delicious experience.
-
Cocoa Powder: I use unsweetened cocoa powder to add a deep, chocolatey flavor that complements the red velvet perfectly. It’s the secret behind that satisfying taste that makes you reach for a second brownie.
-
Buttermilk: This is essential for a moist texture. The acidity of buttermilk reacts beautifully with the baking soda, resulting in a light and fluffy brownie. If you’re out of buttermilk, a simple mix of milk and vinegar will do the trick!
-
Butter: I prefer using unsalted butter, as it allows you to control the saltiness of your brownies. Melted butter helps impart a fudgy texture, which is crucial for that rich brownie flavor.
-
Granulated and Brown Sugar: These sweeteners create depth in flavor. While granulated sugar ensures sweetness, brown sugar adds a hint of caramel, making each brownie blissfully indulgent.
-
Eggs: They bring structure to your mini red velvet brownies. Beating the eggs until fluffy helps incorporate air, which gives the brownies a delightful lift.
-
Flour: All-purpose flour forms the base of this delicious treat. It provides just the right amount of structure to hold everything together while maintaining that melt-in-your-mouth quality.
-
Food Coloring: Red food coloring gives these brownies their signature hue. Make sure to use gel food coloring for a more vibrant effect without altering the batter’s consistency.
With this mix of ingredients, you’ll be well on your way to creating a batch of mini red velvet brownies that will impress friends and family alike!
Why You’ll Love These Mini Red Velvet Brownies
Imagine sinking your teeth into a mini red velvet brownie that bursts with flavor and tenderness—it’s a little bit of happiness in every bite. These delightful treats are not just about their striking red appearance; they offer a rich, decadent chocolate experience that both satisfies and surprises. Perfectly portioned, they make for an ideal dessert to share—or not; we won’t judge if you want to keep them all to yourself!
A Unique Twist on a Classic
- Decadent and Luxurious: The combination of creamy cream cheese frosting with the slight tanginess of the red velvet brownie creates an irresistible flavor profile that keeps you reaching for more.
- Perfectly Portable: These mini brownies are easy to transport, making them an excellent choice for picnics, potlucks, or just a cozy night in. They pack perfectly into lunch boxes or are just right for a sweet treat at work.
- Baking Confidence: The straightforward recipe allows even novice bakers to make these with ease. With just a few common ingredients, you’ll feel like a pro in no time.
Once you have these mini red velvet brownies in your life, you’ll find yourself turning to them for every celebration. Their charm is simply undeniable!
Tips for Making Perfect Mini Red Velvet Brownies
Creating mini red velvet brownies that are rich, moist, and bursting with flavor is an art, and a few key tips will help you master it. Imagine biting into a decadent brownie that perfectly balances sweetness and chocolatey richness while revealing that iconic red hue. Now, let’s make that dream a reality.
Use Quality Ingredients
Starting with high-quality ingredients can make a huge difference. Opt for pure cocoa powder and fresh eggs. They elevate the flavor, ensuring your mini red velvet brownies taste exceptional.
Don’t Overmix
When combining your wet and dry ingredients, take care not to overmix. A few lumps are fine. Overmixing can lead to dense brownies rather than the soft, fudgy texture you want. Remember, gentle folding is key!
Bake with Precision
Invest in an oven thermometer. Homemade brownies often under-bake or over-bake due to temperature discrepancies. To ensure your mini red velvet brownies are perfectly gooey, aim for that sweet spot of 350°F.
Cool Before Serving
Resist the urge to cut into your brownies straight out of the oven. Allow them to cool in the pan for at least 15 minutes. This step is essential as it helps them set, making for cleaner cuts and a more enjoyable texture.
By following these tips, your mini red velvet brownies are sure to become a hit at any gathering!
Time Details for Mini Red Velvet Brownies
Our delightful mini red velvet brownies are a treat worth the wait, and knowing their prep and baking timelines can make your baking experience even smoother. With the right approach, you’ll have these scrumptious bites ready in no time!
Preparation time
Getting everything prepped for your mini red velvet brownies should take about 15 minutes. This includes measuring your ingredients, mixing the batter, and pouring it into the baking pan. It’s the perfect time to enjoy your favorite music or podcast!
Baking time
Once in the oven, these brownies will bake for approximately 25 minutes. Keep an eye on them to ensure they remain moist and decadent—an extra minute could change everything!
Total time
Overall, from prep to baking, plan for around 40 minutes. This allows for a stress-free baking session and leaves you with plenty of delicious brownies to share (or savor all to yourself). Enjoy the process!
Nutritional Information for Mini Red Velvet Brownies
When you savor these delectable mini red velvet brownies, it’s hard not to wonder about their nutritional profile. Understanding what’s in these little delights can help you enjoy them guilt-free.
Calories
Each mini red velvet brownie contains approximately 100 calories. This balance makes them a delightful treat without derailing your daily goals.
Protein
You’ll find around 1.5 grams of protein per brownie, contributing to a satisfying dessert that provides a bit of sustenance without compromising on flavor.
Sodium
With about 100 mg of sodium in each bite-sized delight, these brownies are relatively low in salt, ensuring they remain a sweet indulgence without overwhelming your palate.
Enjoy these nutty facts while you treat yourself to one (or two) of these rich, moist delights!
FAQs about Mini Red Velvet Brownies
The delightful allure of mini red velvet brownies makes them a go-to treat for any occasion, but you might have a few questions swirling around in your mind. Don’t worry; I’m here to clarify the most common queries so you can enjoy your baking experience without any hiccups.
Can I use different types of food coloring?
Absolutely! While traditional red food coloring gives these brownies their signature look, you can get creative. Gel food coloring provides vibrant results with less liquid, so it won’t affect the brownie texture. You could also try natural alternatives like beet juice for a subtle flavor twist, but keep in mind that it may change the final color slightly. Moreover, crafting mini red velvet brownies in unusual colors can be fun for themed parties or special occasions.
What’s the best way to store leftovers?
If you find yourself with leftover mini red velvet brownies (though that’s rare!), you can store them in an airtight container at room temperature for up to three days. If you want them to last longer, consider refrigerating them, where they can stay fresh for about a week. For even extended storage, try freezing them. Just wrap individual brownies in plastic wrap and place them in a freezer bag. When you’re ready to indulge again, simply let them thaw at room temperature!
How can I make these brownies gluten-free?
Turning your mini red velvet brownies into a gluten-free treat is simple! Just substitute the all-purpose flour with a gluten-free flour blend, which you can easily find in most grocery stores. Make sure it’s a 1:1 blend for the best results. Additionally, check your baking powder and other ingredients for gluten-free labeling, ensuring every bite is safe and delicious for gluten-sensitive friends.
Feel free to whip up these delectable brownies and enjoy them with confidence!
Conclusion on Mini Red Velvet Brownies
In wrapping up our delightful journey into the world of mini red velvet brownies, it’s clear that these indulgent treats are not just a feast for the eyes but also a delightful experience for the palate. Their rich, velvety texture combined with a hint of cream cheese frosting makes them irresistible for any occasion. With simple ingredients and straightforward steps, you can whip these up quickly, impressing guests or satisfying your sweet cravings. So why not treat yourself and others to a batch of these decadent brownies? They promise joy in every bite, making any day a little bit brighter.
Print
Ghirardelli Chocolate Red Velvet Brownies
- Total Time: 55 minutes
- Yield: 16 brownies 1x
- Diet: Vegetarian
Description
Delicious red velvet brownies with Ghirardelli chocolate and a creamy frosting.
Ingredients
Scale
- 1 stick unsalted butter, cut into chunks
- 1 3/4 cups Ghirardelli Milk Chocolate Chips
- 2 large eggs
- 1 egg yolk (room temperature)
- 5 tablespoons granulated sugar
- 1/2 cup packed brown sugar
- 1/2 teaspoon salt
- 2 teaspoons vanilla extract
- 1 tablespoon red food coloring gel
- 1 cup all purpose flour
- 1/2 teaspoon baking powder
- 1 1/2 tablespoons Ghirardelli unsweetened cocoa powder
- 8 ounces cream cheese (softened)
- 1/2 cup unsalted butter (room temperature)
- 1/4 teaspoon salt
- 1 tablespoon vanilla extract or 2 teaspoons vanilla bean paste (I used Nielsen-Massey)
- 3–4 cups confectioners sugar
Instructions
- Preheat oven to 350 degrees.
- Line an 8×8 baking pan with heavy-duty foil and very lightly grease.
- Melt milk chocolate and butter in microwave until melted. In a small saucepan, melt the butter over your lowest setting, then add the milk chocolate chips stirring constantly with a small whisk until melted and smooth. Turn off heat and let set.
- In a large mixing bowl, add the egg, sugars and vanilla into the bowl and whisk together until combined. Then whisk in the red food gel/coloring.
- Next, whisk in the cooled down melted chocolate into the egg/sugar mixture until smooth and combined. Make sure the melted butter isn’t hot, so it doesn’t curdle the eggs when you add it.
- Stir in the flour, baking powder, salt and cocoa powder and mix well until there are no more flour streaks. I like to use a spatula or wooden spoon.
- Bake 35-40 minutes, until a toothpick comes out clean, and transfer pan to cooling rack and let cool for 15 minutes.
- Refrigerate, covered until cooled to frost or let brownies come to room temperature before frosting.
- Lay out on tin foil or cutting board and cut into 16 or 25 squares evenly using a sharp knife. Or if you prefer, you can use small cookie cutters, round, heart-shaped or diamond shapes.
- Now Make the frosting! Place cream cheese, butter, vanilla, salt, confectioner’s sugar and cream/milk in mixing bowl. Using a mixer, beat on medium high until well combined. Mix until smooth and creamy.
- Place frosting in a pastry bag with a pastry open or closed star tube and pipe a star in the middle, then pipe frosting around the star to create a rose.
- Add sprinkles, chocolate shavings, etc.
- Put back in fridge until ready to serve.
Notes
- Additional frosting tips: Adding sprinkles or chocolate shavings enhances the presentation.
- Chill the brownies before cutting for cleaner edges.
- Prep Time: 15 minutes
- Cook Time: 40 minutes
- Category: Dessert
- Method: Baking
- Cuisine: American
Nutrition
- Serving Size: 1 brownie
- Calories: 250
- Sugar: 20g
- Sodium: 150mg
- Fat: 10g
- Saturated Fat: 6g
- Unsaturated Fat: 4g
- Trans Fat: 0g
- Carbohydrates: 35g
- Fiber: 1g
- Protein: 3g
- Cholesterol: 50mg